Some images deserve more than zoom-and-blur when trying to make them larger. So you’ve got a small photo. Maybe it’s a low-res logo. Maybe it’s an old snapshot from a phone that barely worked. You need it bigger. You don’t want it to look like a pile of pixels.
🧰 I tested seven tools that claim to fix this. Not with fake filters or blurry guesses, but with real upscaling that keeps edges sharp and faces clear. In other words, they allow you to make images larger without losing quality.
In this post, I’ll show you which ones work, where to find them, and what you can expect. No fluff. Just the results you need to make small images big without wrecking them.
The tools to make images larger without losing quality
Here’s the lineup of my favorite tools for making images larger while maintaining quality (often using AI):
I ran two small, old, slightly blurry photos through each tool to understand how each handles image enlargement. But I also wanted to analyze image quality along with realism, considering AI tools tend to make photos look cartoonish or digitized.
My testing methodology
Here’s some brief background on how I used these image resizer tools and the process I went through when doing the tests:
- To maintain consistency throughout my testing, I used the same two original photos to process through every image enlargement tool.
- I intentionally chose two older photos with different elements, like how one has water and foliage while the other has a person with cars and a massive aircraft carrier in the background.
- I also decided to use two photos with innate flaws; these were older images with varying levels of blurriness, small sizing, and even color issues.
- With each image enlarging/enhancing tool, I ran a test for both photos. Most of the time I tried to stick with growing the image by at least 2x, but that depended on what the tool offered.
Here are the images I used:
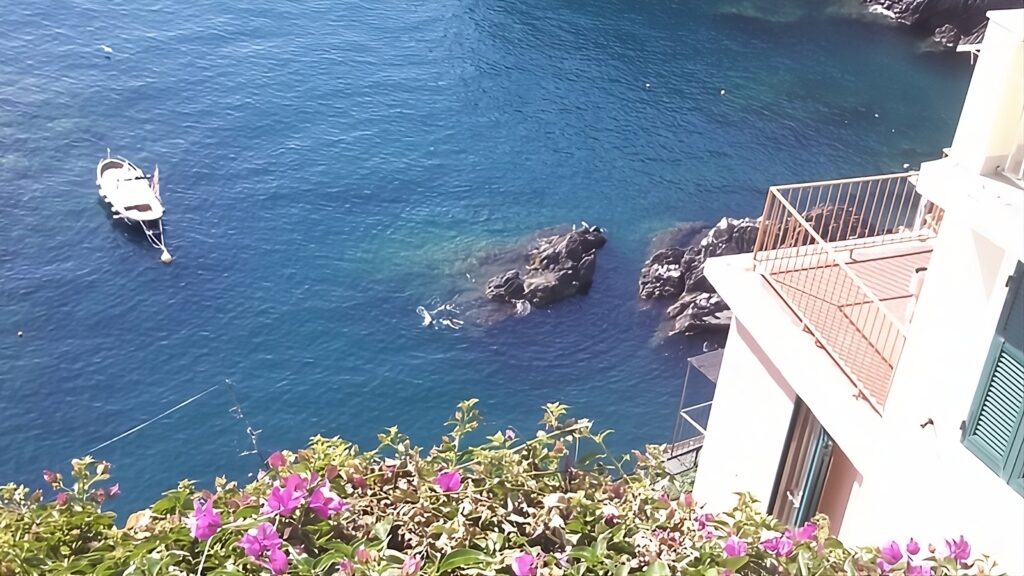
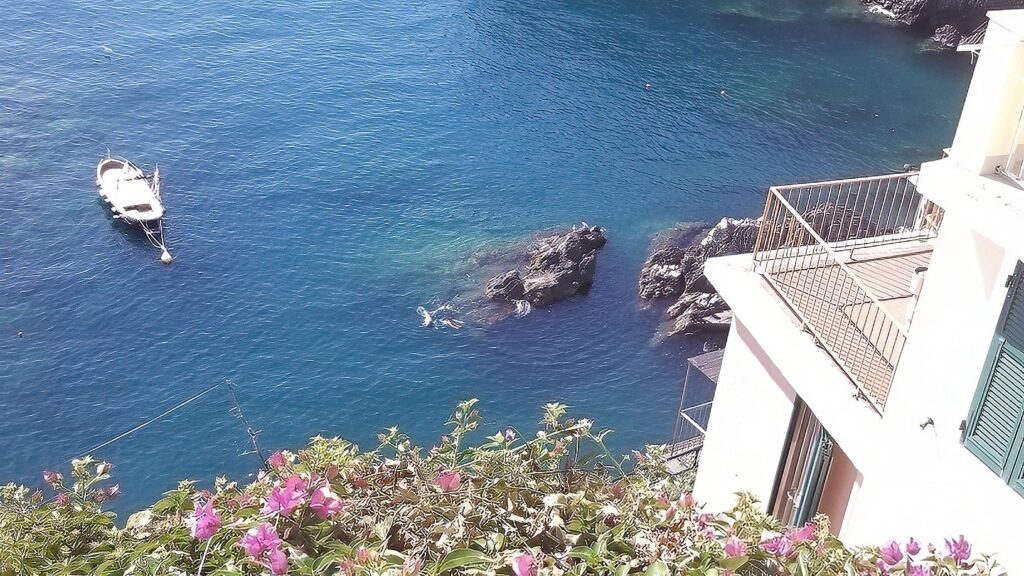
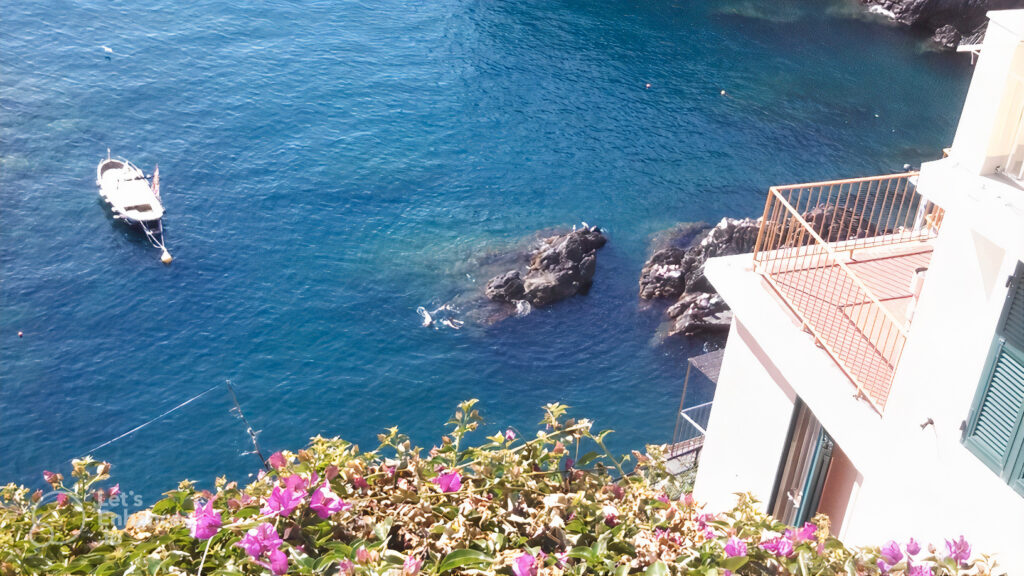
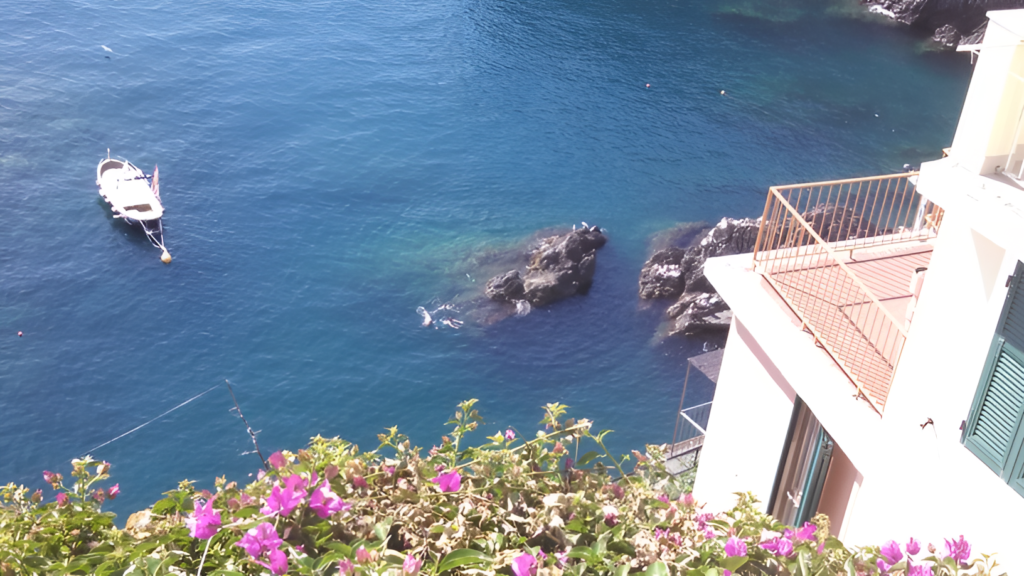
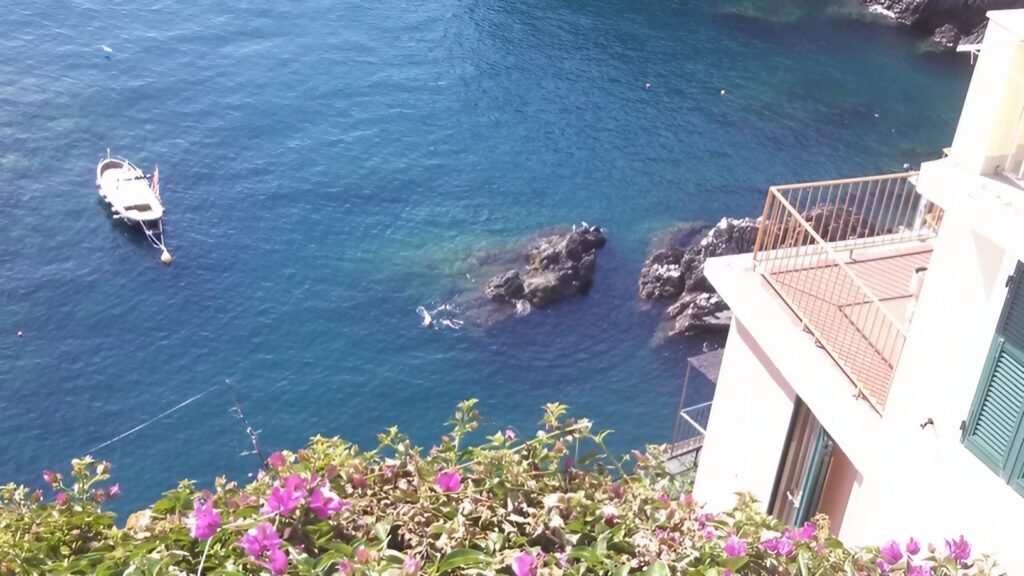
- Original Size: 816x459px, 188 KB
- Unique Features: Multi-colored foliage, water features with ripples and bright blues, rocks, housing with sharp edges and singular colors, blurriness and over-exposure.

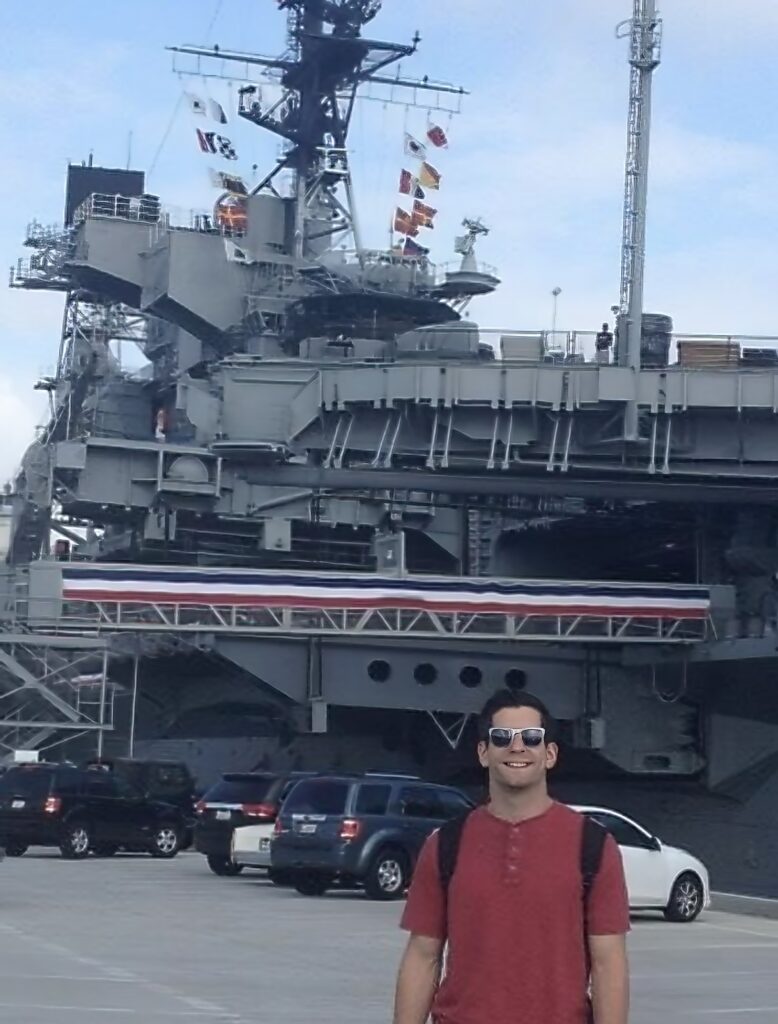
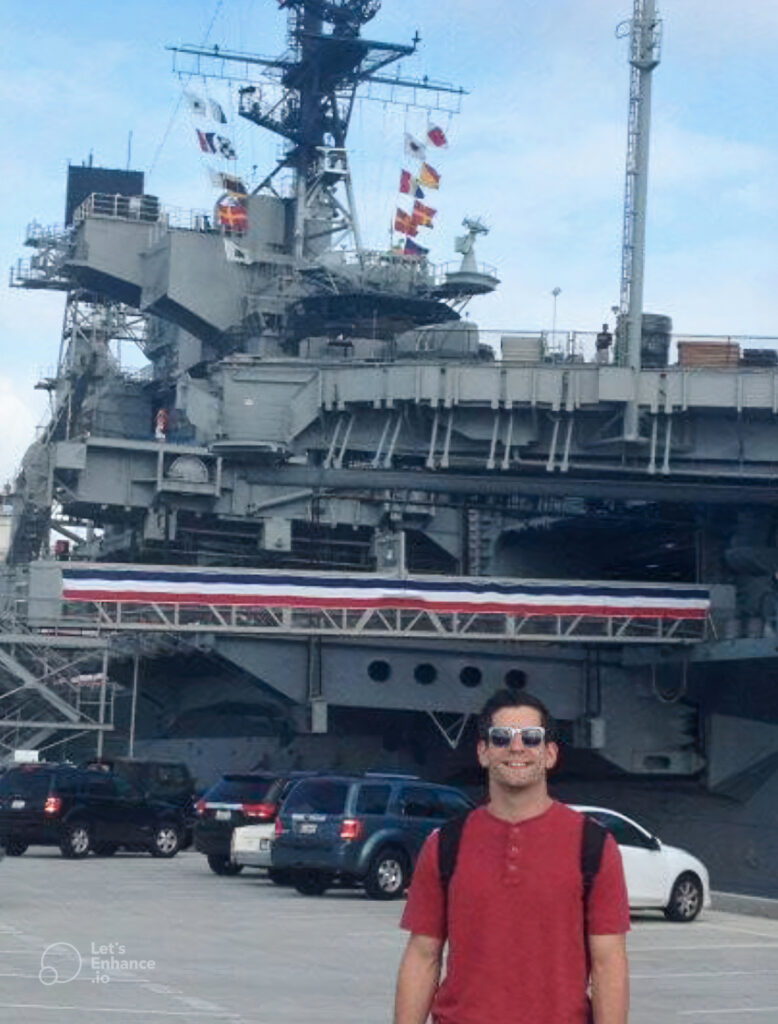
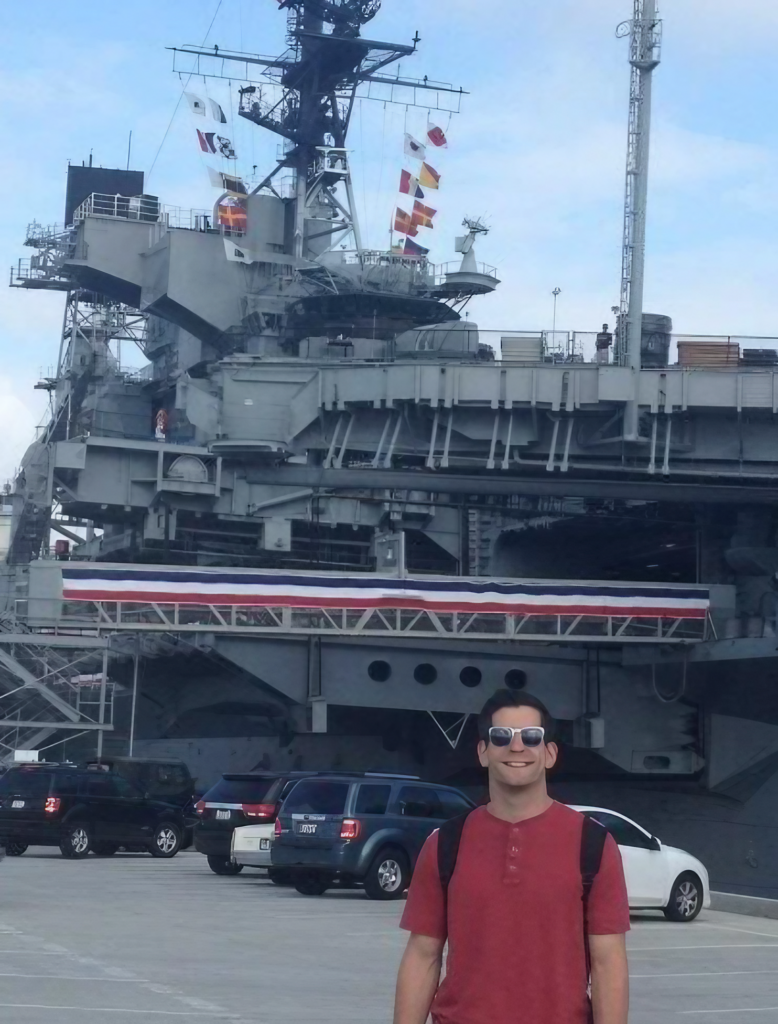
- Original Size: 750x1338px, 2.5 MB
- Unique Features: Human elements (face, mouth, arms), sunglasses and clothing, cars, multi-colored flags, sky, aircraft carrier with sharp edges and a singular color, and blurriness.

I did say that I wanted to enlarge these images by at least 2x, but as it turned out, all the tools recommended in this article handle enlargements up to 8x or even 16x the original size. Wow!
Okay, so, they all get the job done in terms of making images bigger. But what about quality and realism?
Testing the tools one by one
I’m a bit torn about how to rate these image enlargers, since, nowadays, many of them focus on AI enhancements, as opposed to simply making images larger.
Those AI enhancements are wonderful to maintain image quality after enlarging a photo, yet it depends on the type of image you use. During my testing, I found that some image enlarger tools make human faces look cartoonish/digitized (you know, how much of the AI art world looks). So, I found myself tweaking settings or completely skipping those tools when a person was in the image. Those same AI features, however, perform rather well for landscapes and sharp edges, since they’re great at smoothing those edges without that “cartoonish” appearance.
There’s no perfect image enlarger, resizer, enhancer, or upscaler (or whatever you want to call it). I have discovered, however, which image enlarger tools get the job done with minimal quality or AI mutation issues. Be sure to read through the entire list, because the first one may not work best for the type of photo you’re trying to upscale:
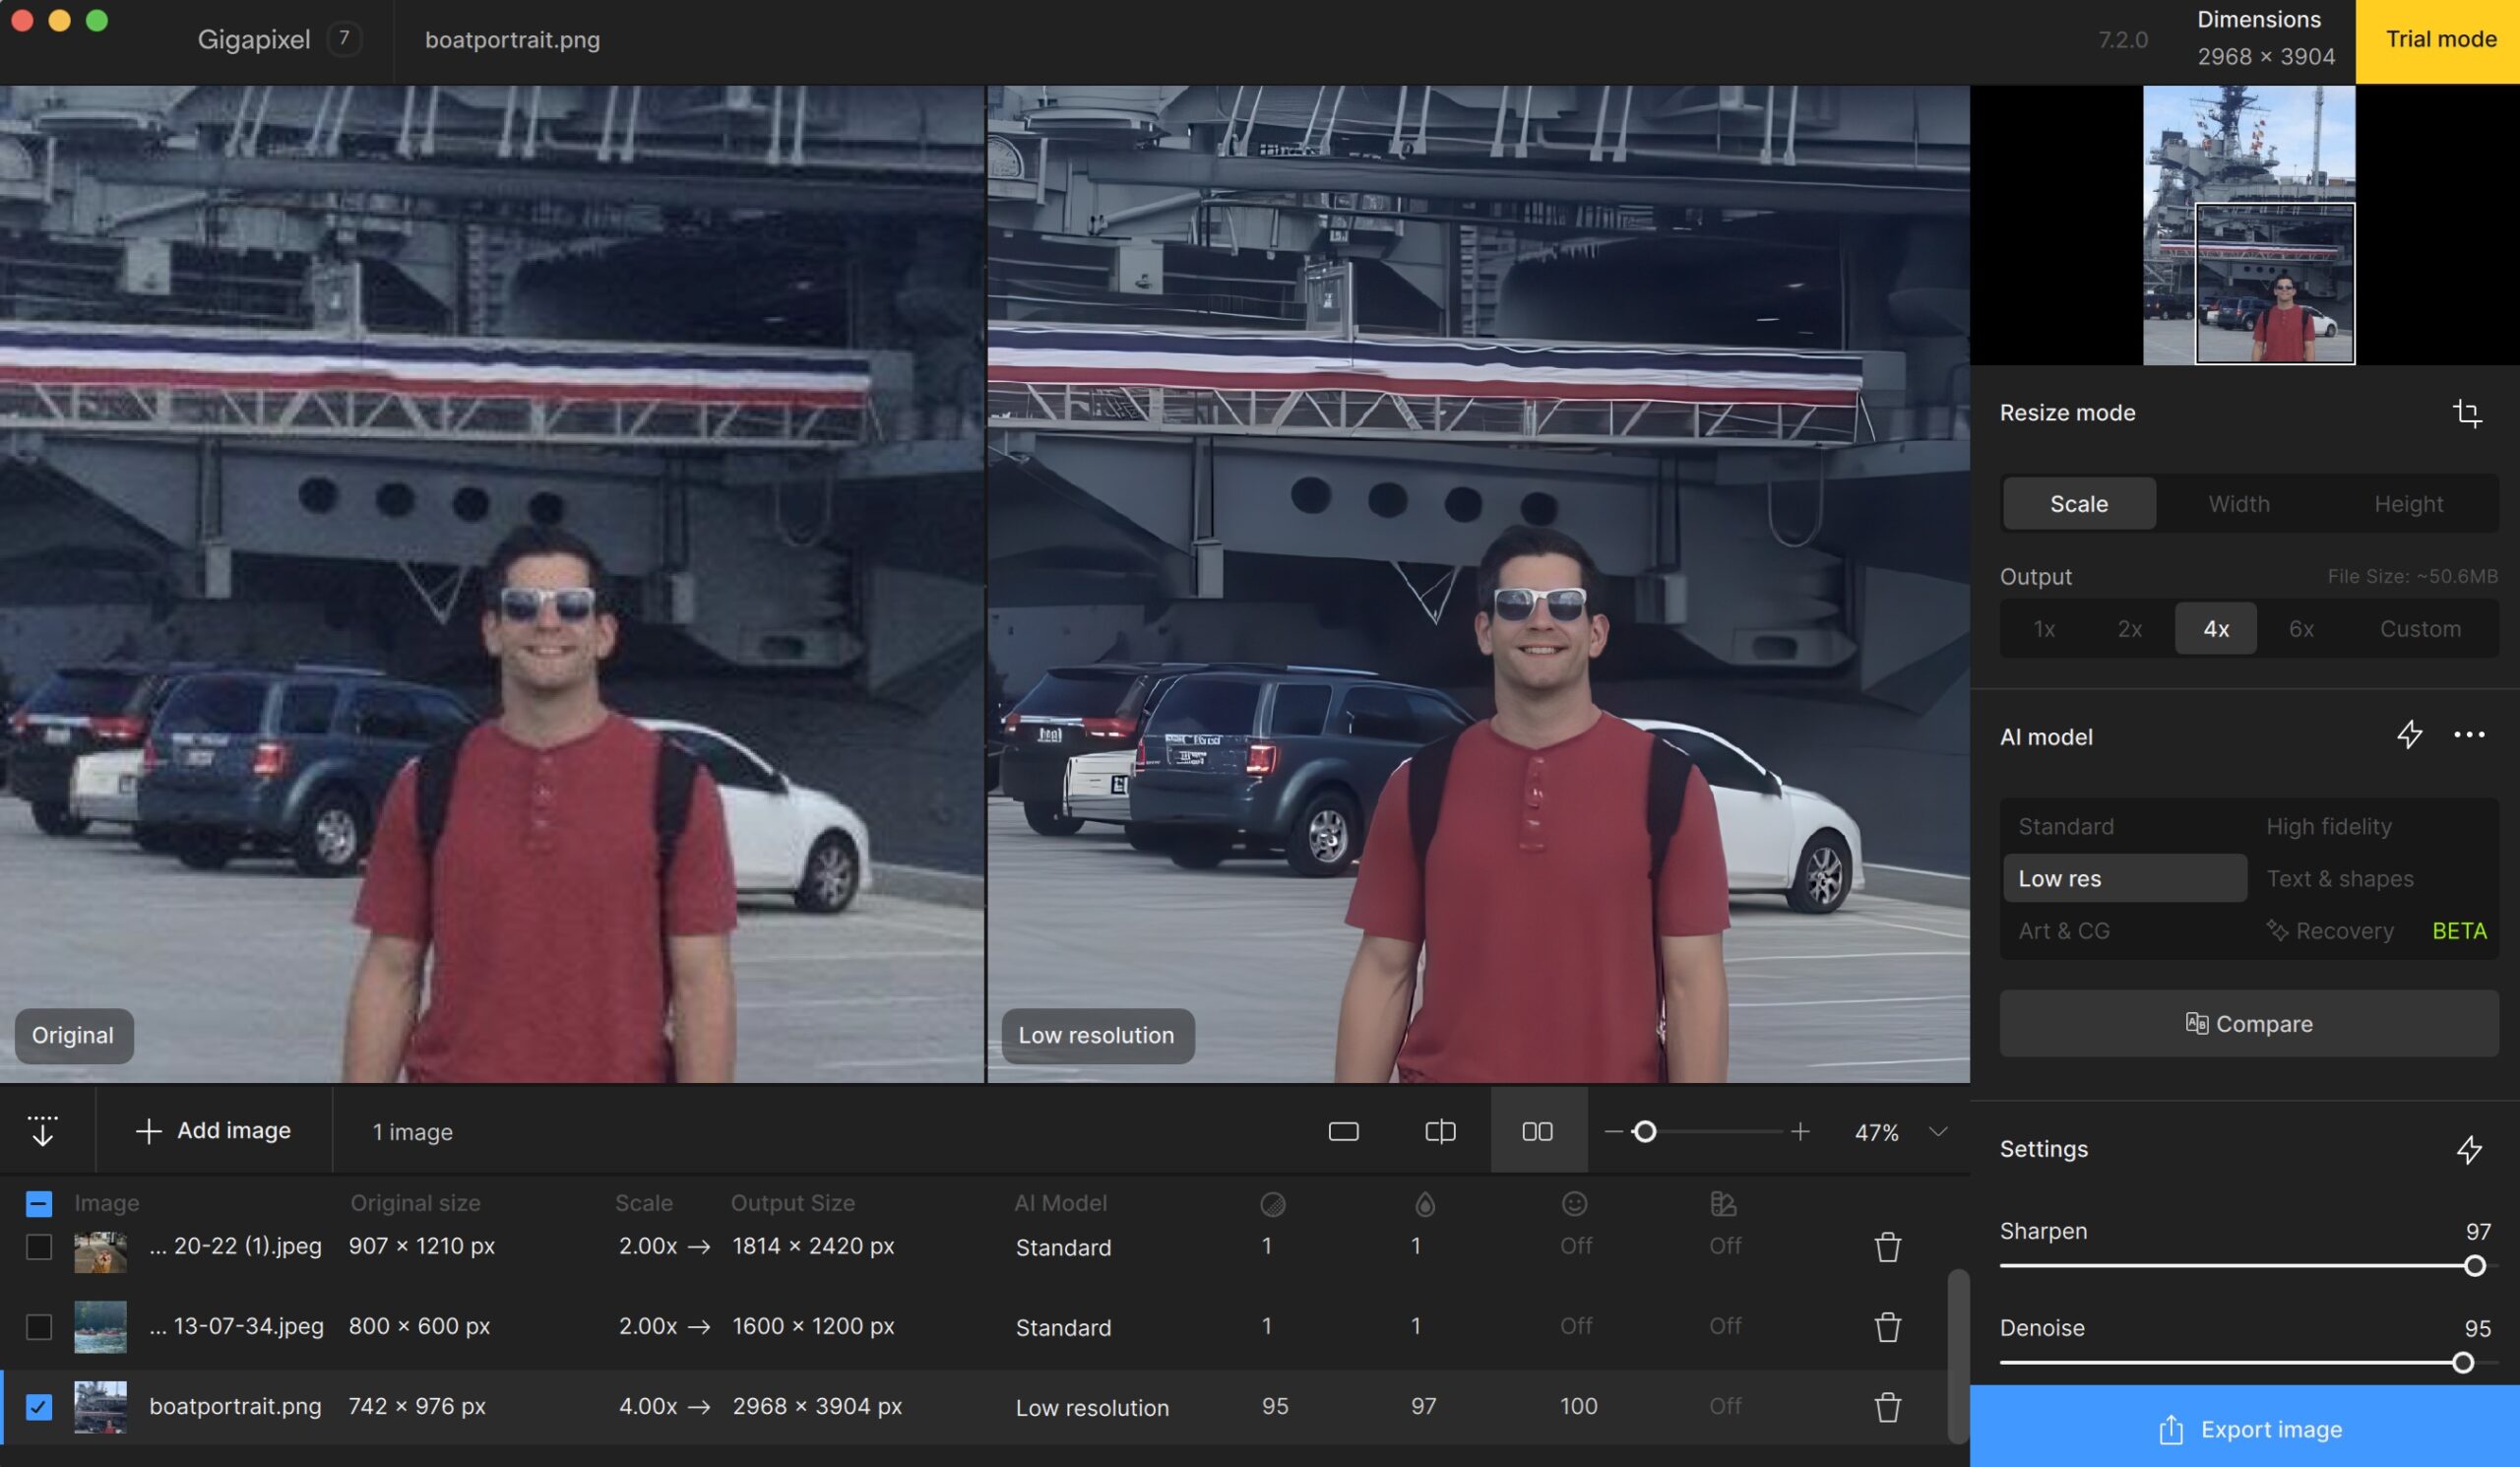
1. Gigapixel
Gigapixel (now version 8), from Topaz Labs, received a considerable amount of recognition during my hunt through online forums for the best image enhancer/enlarger. Many people argued it’s the best possible option available, even though some of the AI results require tweaking. My first impression was strong, but mainly because I get excited about local software with one-time payments. I miss the days where you only needed a subscription for the gym and cable – not software that only requires the occasional update.
Getting back on track, though; Gigapixel is a premium, local software – no browser-based dashboard – with both Mac and Windows versions. The interface is a smooth one. I enjoyed using the free trial but would definitely upgrade to the premium version thanks to the one-time payment and superior image enlarging results.
Overall, I see Gigapixel as the smoothest combination of image enlarger, enhancer, and editor. You receive quick enlargements, realistic results without the cartoonish AI look, and quick settings to tweak results – without having to get a graphic design degree.
⚙️ Key features
- AI-supported enhancements.
- Local software that you own without having to pay for a pointless subscription.
- Quick image enlarging up to 6x and a custom enlarging tool for even larger images – up to 16x.
- Multiple AI models for specific types of pictures, like low res images, text and shapes, high fidelity, and art.
- Bulk image upscaling.
- Face recovery for pictures with people.
- Quick settings for sharpening, denoising, gamma correction, and compression fixing.
- Scaling to print quality and other advanced exporting options.
💳 Pricing
I’ve said it a few times already, but I always appreciate one-time payments for software. That’s why – even though it lacks a free plan – Gigapixel gets my #1 vote for best photo enlarger pricing.
It also has the simplest pricing model:
- Gigapixel: $99 to download the entire software.
- There’s a trial period to test out how you like the software, too.
📊 Test results
My test with Image 1 produced beautiful results after enlarging the photo by four times the original size. Thanks to the AI enhancements, the final photo had sharper water ripples, rocks, and flowers, while also maintaining the realism and quality of edges (like the ones seen on the building).
I also increased the size of Image 2 by four times. Gigapixel offered perhaps the most realistic “AI enhancement” of all the image enlargers tested. It smoothed and sharpened everything from my shirt to the cars and ship elements behind me. As for my face, there’s still a hint of that “computer generated” look, but it’s the best result I’ve seen so far. Luckily, Gigapixel has quick settings for sharpening, denoising, and improving facial features, all of which help to avoid issues with the AI.
Results for Image 1:
- Size increase: 4x
- Quality improvement (Poor, Average, Good): Good
- Realism (Poor, Average, Good): Good
Results for Image 2:
- Size increase: 4x
- Quality improvement (Poor, Average, Good): Good
- Realism (Poor, Average, Good): Good
2. Upscale.media by PixelBin.io
My first ever dive into browser-based upscalers began with Upscale.media by PixelBin.io. And the experience was a pleasant one. The tool uses AI technology to enlarge and upscale your images, all from a convenient online interface. It does have its fair share of upsells throughout the process, but I found it less cluttered with ads and upsells than the vast majority of competitors. It’s also a simple interface, which allowed me to upload and enhance/enlarge several images in a few seconds.
⚙️ Key features
- Five supported image formats including PNG, JPEG, and HEIC.
- Side-by-side preview to see the improvements and comparisons between versions of the photo.
- A one-click button to enhance the quality of the enlarged image.
- Multiple upscaling options, including 1x, 2x, and 4x.
- JPEG artifact removal.
- Google Play and Apple apps.
💳 Pricing
My impression of the Upscale.media pricing: It’s affordable, and with flexible pricing options. You can opt for a subscription, pay per credit, or go with the free plan if you only intend to upscale a few photos each month.
The plans:
- Free Forever: $0 for three free credits and three free downloads each month.
- Pay As You Go: $0.32 to $0.60 per credit depending on how many credits you buy. The more you purchase, the less per credit it becomes. Unfortunately, however, I noticed there’s a one-year expiration for credits after purchasing.
- Subscription Plans: $0.04 to $0.26 per credit for a bundle of monthly credits. The cheapest plan is $6.99 per month, but that’s the most expensive per credit. You can go all the way up to 1000 credits for $19.99 per month. Or you can even pay yearly and reduce your price to mere $0.01 per credit ($139.99 annually).
📊 Test results
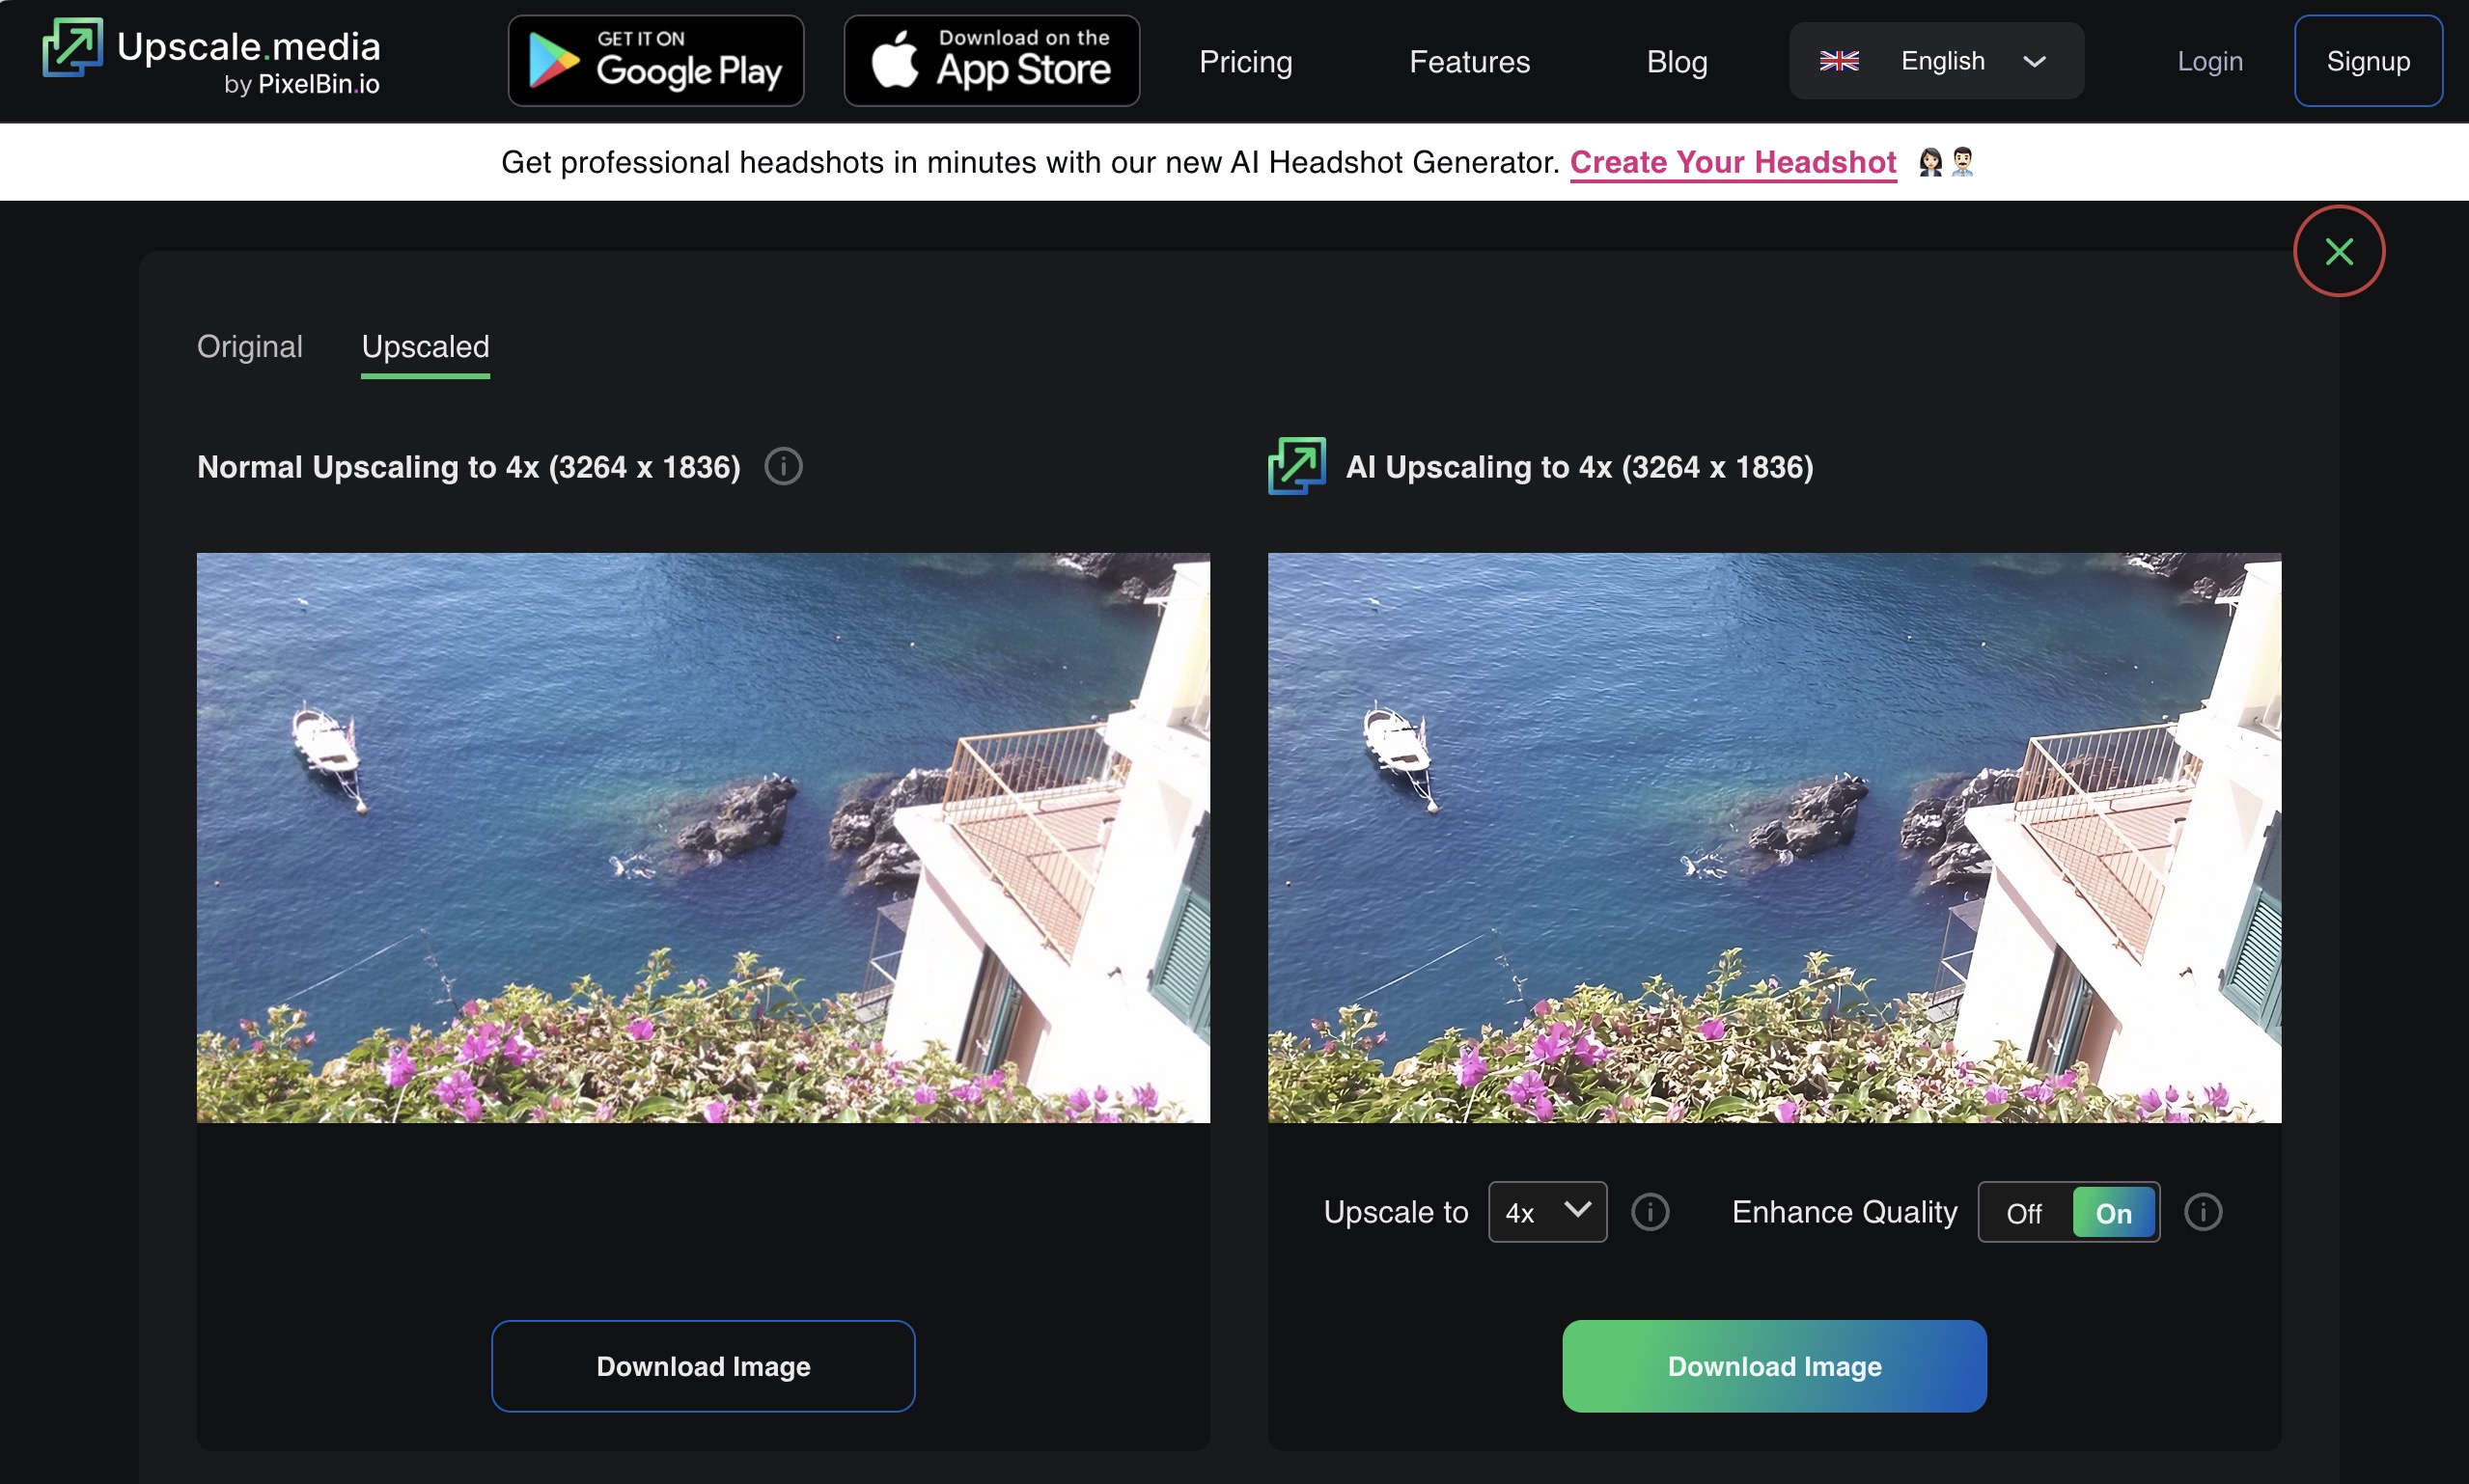
Although I mainly focused on enlarging images by 2x for this article, I wanted to see how some of these tools handled a 4x increase. I was able to upload an image within seconds, and it took no longer than 10 or 15 seconds for the results. The normal upscaling looked impressive – close to the original images, if not slightly better. The true magic, however, came about when I turned on the “Enhance Quality” feature.
I’d argue that Image 1 had the best results. The blues were richer, waves were sharper, and most colors ended up brighter than the original picture – all after quadrupling the size of the photo. The results for Image 2 were impressive as well, but more so because it maintained the quality of the image without making my face look cartoonish. The larger image looks slightly sharper without losing any resolution or seeing pixelation – and that’s what many people look for in an image enlarger.
Results for Image 1:
- Size increase: 4x
- Quality improvement (Poor, Average, Good): Good
- Realism (Poor, Average, Good): Good
Results for Image 2:
- Size increase: 4x
- Quality improvement (Poor, Average, Good): Average
- Realism (Poor, Average, Good): Good

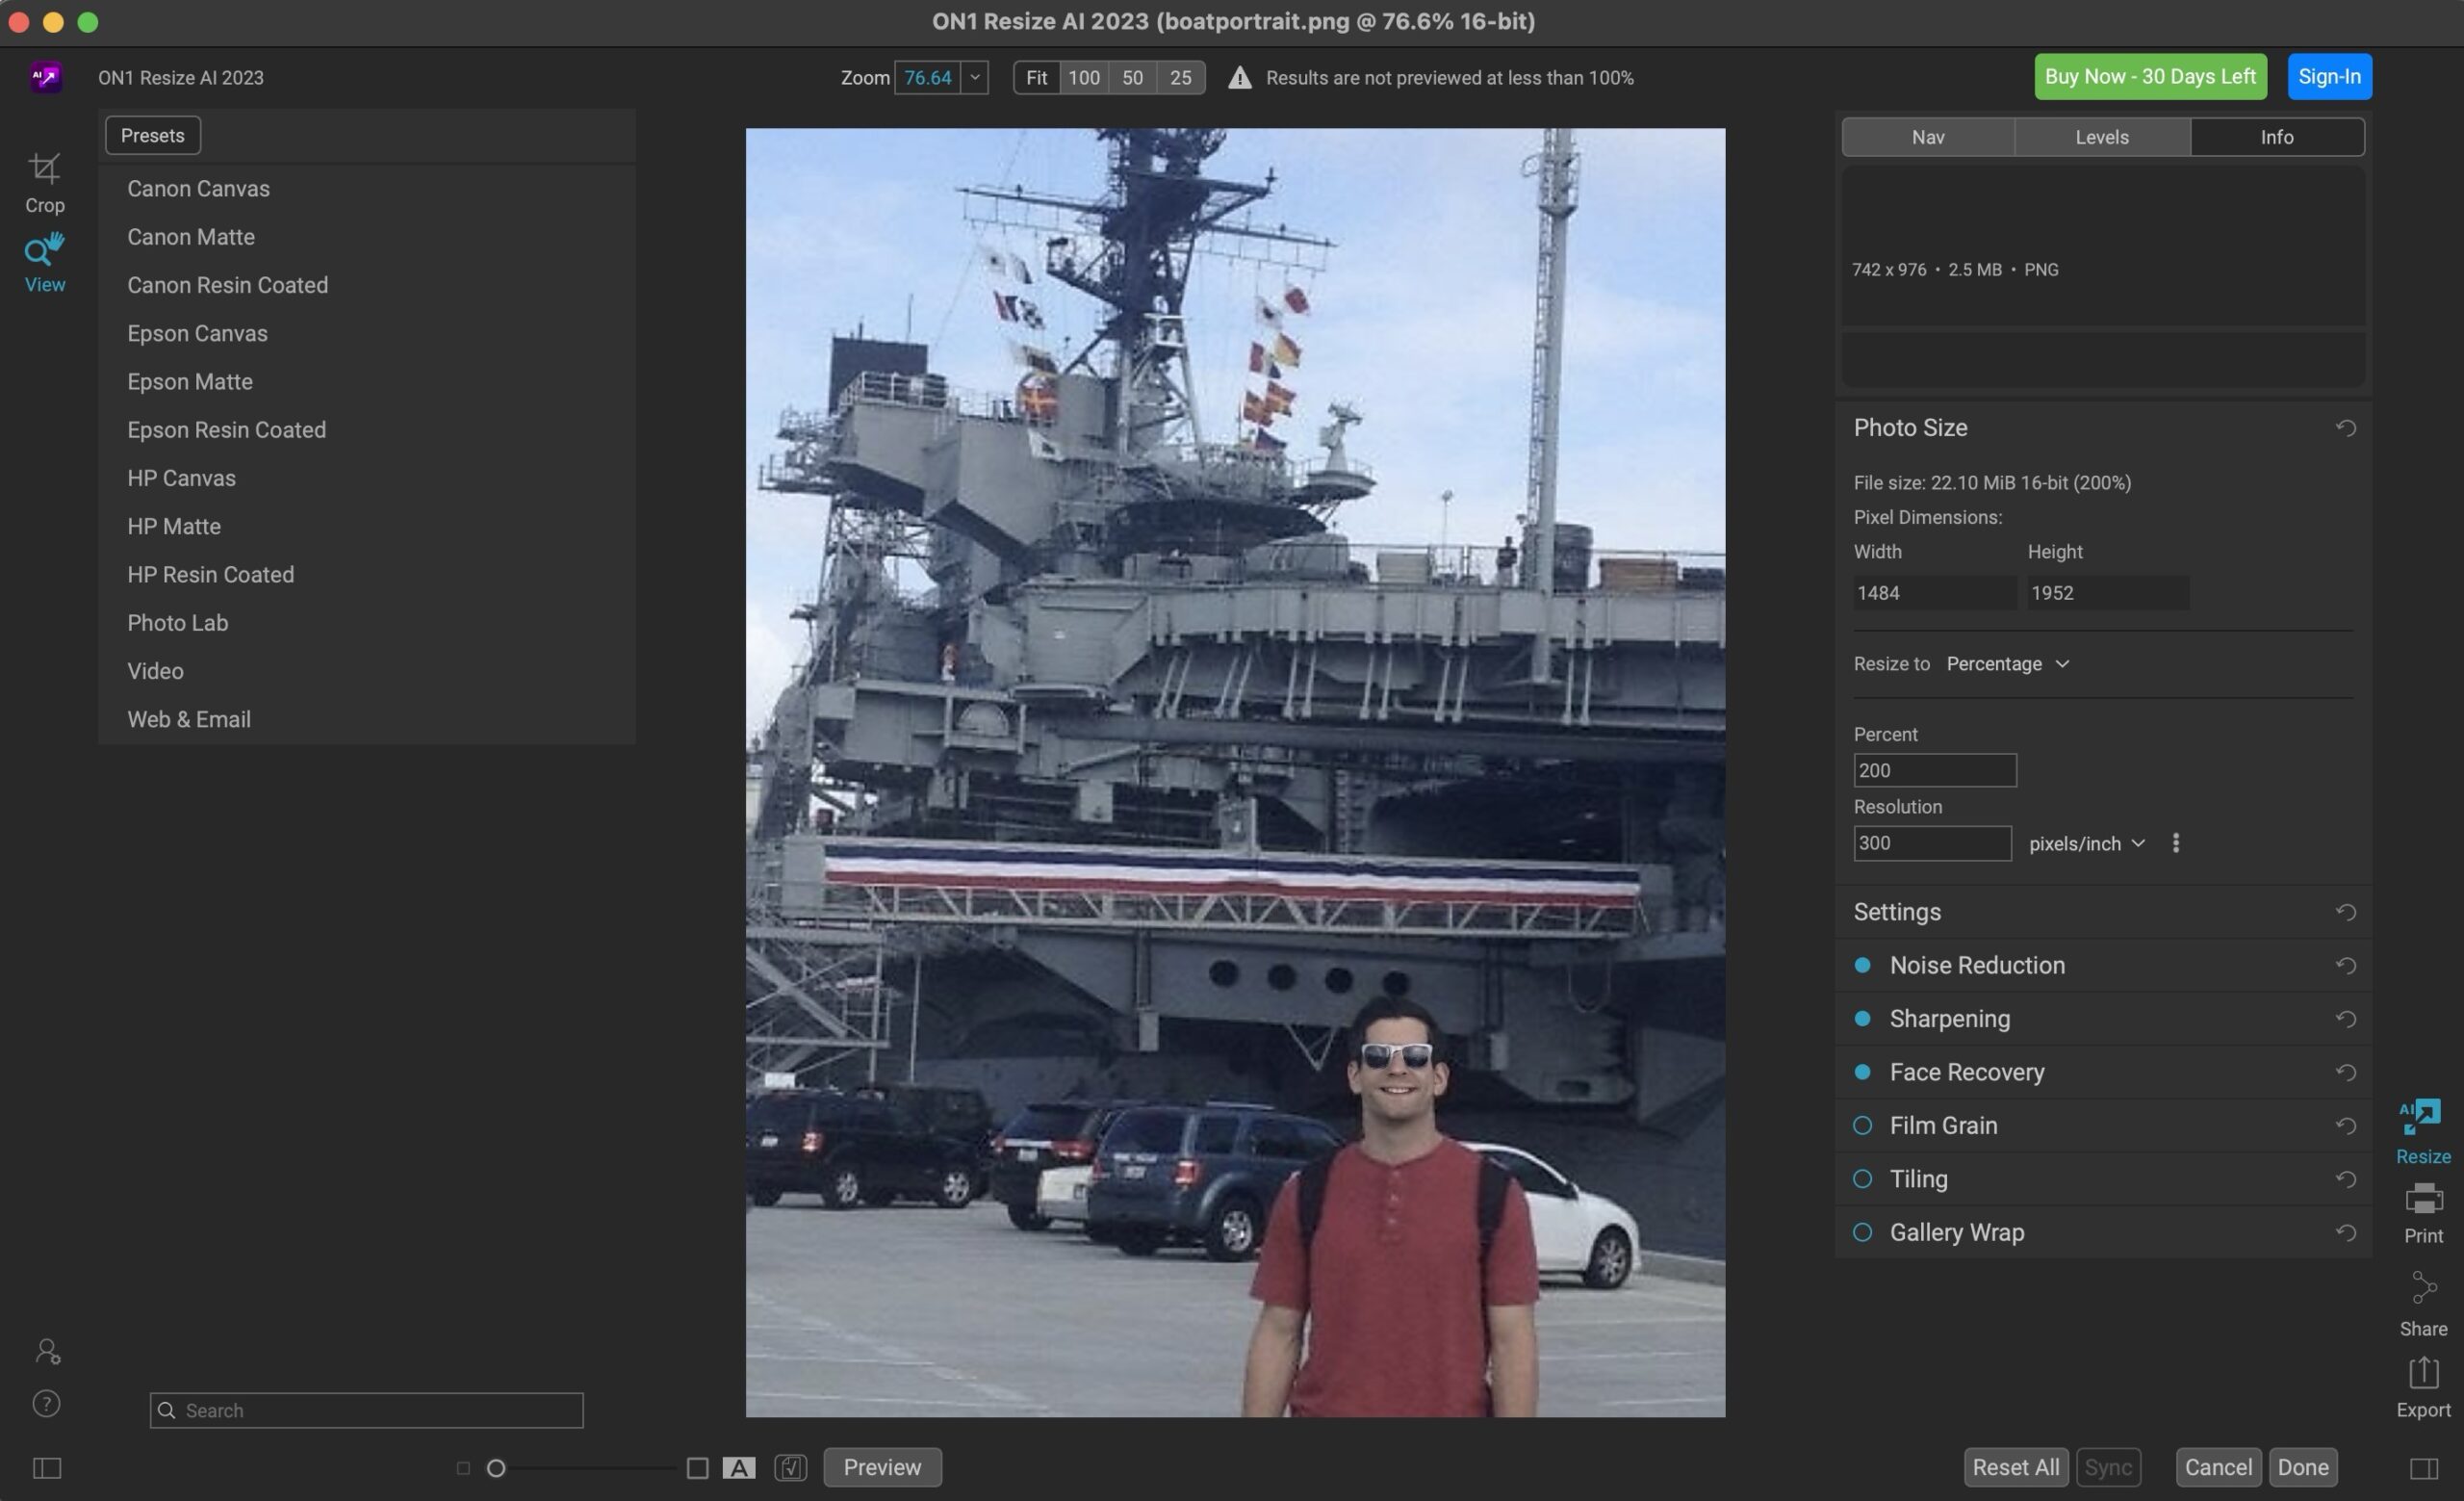
3. On1 Resize
On1 Resize is a premium desktop software with a myriad of features for expanding an image’s size, creating printable graphics, and simulating what a photo will actually look like when printed. It has my favorite type of billing model (one-time purchase), and that payment gets you much more than an image resizer.
Similar to Gigapixel, On1 offers a local software with an onslaught of features. My tests show how the software maintains a respectable level of realism after upscaling photos, yet it also incorporates a hint of artificial intelligence when necessary. I found it particularly useful for improving very old photos without making them into AI digitizations.
⚙️ Key features
- Smooth image enlarging with support from AI to maintain quality.
- No limits on resizing; increase by multiples times or enlarge photos based on elements like pixels or percentages.
- AI face recovery tools.
- Noise reduction and sharpening.
- Film grain, tiling, and gallery wrap tools.
- Presets to enlarge and enhance photos within seconds.
- Support for RAW photos.
- Direct printing from the software, along with advanced print settings and options to share to printing services.
- Resizing from a mobile app.
💳 Pricing
After its 30-day free trial, On1 Resize has two types of premium plans: one-time payments and subscriptions. I figure most people would rather pay for a software one time, so it’s nice to see that you can buy a local version of either On1 Resize by itself or alongside the On1 Photo RAW editing software.
Here’s what to expect for the one-time payment plans:
- On1 Resize AI: $69.99 (one-time payment).
- On1 Photo RAW on 3 Computers: $99.99 (one-time payment). Comes with On1 Resize.
If you’d rather pay a recurring fee for guaranteed product updates, opt for one of the On1 Everything subscriptions:
- On1 Everything: Starting at $49.99 per year for On1 Resize, Cloud Sync, On1 Resize Photo RAW MAX, and all On1 Resize plugins.
📊 Test results
I tested On1 by increasing photo sizes by 2x, 4x, and 8x. All the quality results came out just fine, but it usually depended on the type of content in each photo. For example, Image 1 looked beautiful regardless of how large I made the photo. I would argue that it sometimes provided too much definition with some elements like the flowers. Despite that, it delivered some of the best quality results during my testing. It also kept the photo realistic, never adding too much smoothing or digitization.
I saw excellent results with Image 2, too. Some elements of my face looked a little odd thanks to the AI, and I still noticed some blurring, but overall it provided an improved version of the original picture. On1 was particularly useful for the ship and cars in the background. I saw improvements in sharpness throughout the photo, all without making the picture unrealistic. Keep in mind, however, that I had to mess with a few of the settings (noise reduction, sharpening, face recovery) after processing to get the best result.
Results for Image 1:
- Size increase: 2x, 4x, and 8x
- Quality improvement (Poor, Average, Good): Good
- Realism (Poor, Average, Good): Good
Results for Image 2:
- Size increase: 4x
- Quality improvement (Poor, Average, Good): Average
- Realism (Poor, Average, Good): Good
4. Upscayl
Using the tool is very easy. It installs as a standard desktop app – always great(!) – and then just lets you pick an image that you want to upscale.
Alternatively, there’s also batch mode – so you can pick an entire folder and upscale all those images in one go. You can upscale your images anything from 4x to 16x.

You also get to select from a range of available models used for upscaling, and even add your own custom models. “Upscayl Standard” is the default one – good for most scenarios. What’s cool is that Upscayl also has specific models for things like digital art – those images usually have different characteristics compared to standard photos.
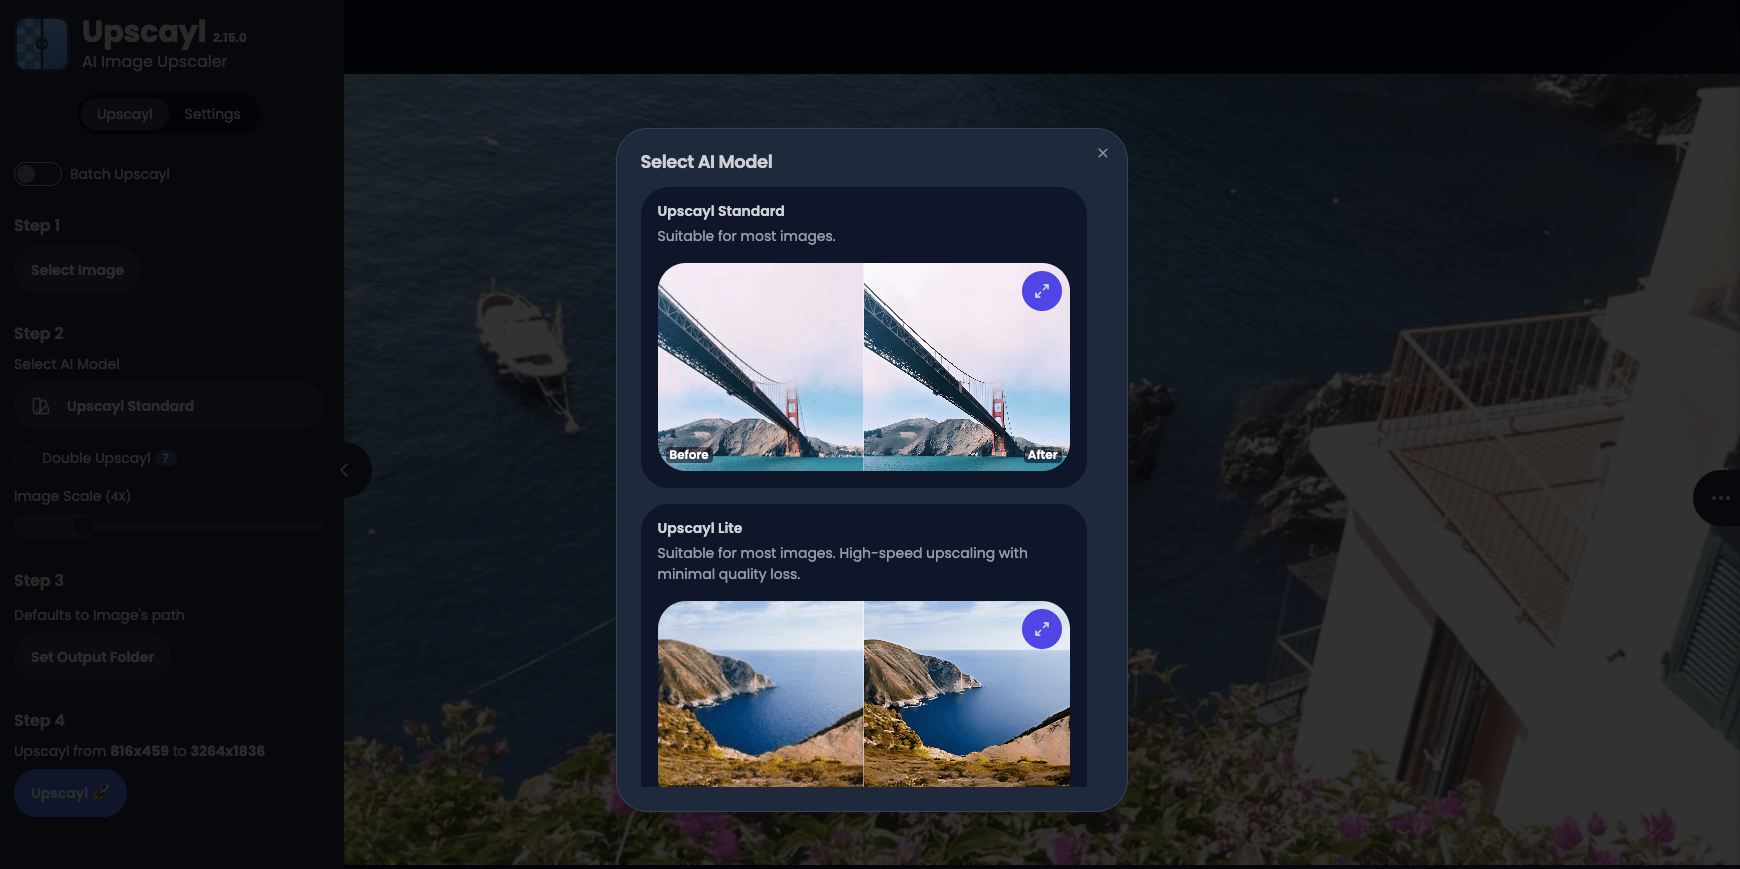
Anyway, when you’re done with the settings, just click the main “Upscayl” button and off you go. It takes a couple of seconds to complete optimizing an image – depending on the size and work needed.
⚙️ Key features
- Upscale images from 4x to 16x.
- Batch upscaling for multiple images.
- Different AI models available – you can switch between them if needed, based on the image you’re working on.
- Supports PNG, JPG, WebP formats.
- App that’s really easy to use.
💳 Pricing
The pricing of Upscayl is a really interesting topic. First up – the free plan:
So there is a free version available. However, getting to it is not the easiest mission if you’re on Mac. To find it, click on Download instead of Pricing when on Upscayl’s site. Then, if you’re on Linux or Windows, you can just use the main download buttons.
If you’re on Mac, however, then clicking on the main button will take you to the App Store where you’ll have to pay $12.99 for this app. However! If you click on the Alternative Downloads drop-down instead, then you can grab a DMG for Mac from there for free. So do that!
Now, the paid plans: Upscayl offers a couple of subscription plans labeled “Upscayl Cloud Beta.” It’s a classic business offering for users who have much higher use in mind, plus want more powerful features. For standard everyday use, though, I feel the free version is more than enough.
For the record, the paid plans start at $9.99 per month for 100 credits, and go all the way up to $299.99 per month for 5,000 credits.
📊 Test results
I used the Upscayl Standard model.
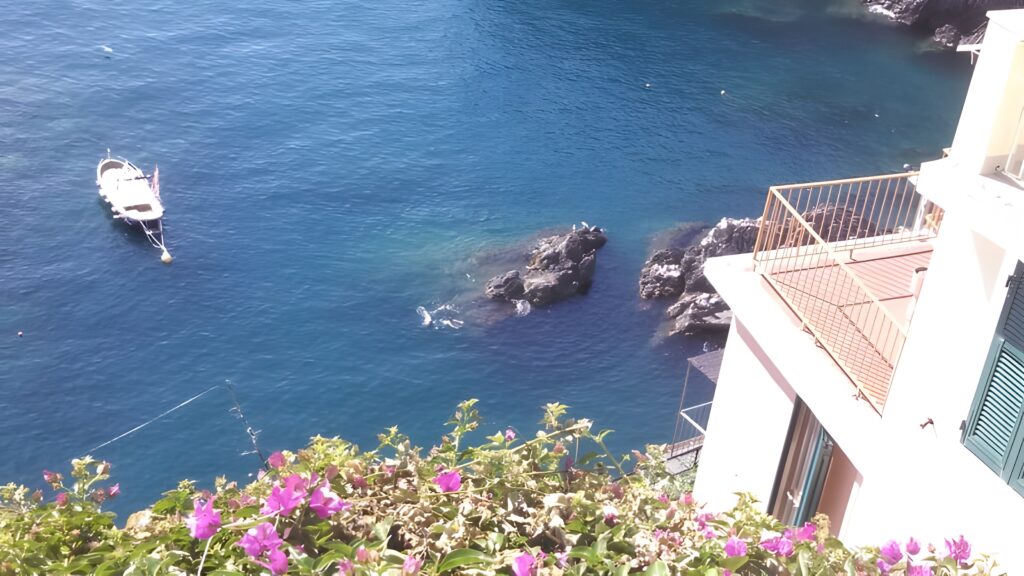
My test image 1 came out really nice. There’s visible detail especially where there were some hard edges or walls. The waves have been a bit toned down, though, but still look presentable. Plus, the default setting of Upscayl is 4x, so you’re getting a large image right on first go.
Image 2 came out a bit worse on the default model. The ship starts looking a bit cartoonish, and the person even more so – looks more as if the image was entirely AI-generated, not just upscaled. I gave it another chance by changing the model to High Fidelity, and the results were slightly better on the ship in the background, but still not that great on the person.
In the end, this is still a great deal considering you can use it for free!
Results for Image 1:
- Size increase: 4x
- Quality improvement (Poor, Average, Good): Good
- Realism (Poor, Average, Good): Good
Results for Image 2:
- Size increase: 4x
- Quality improvement (Poor, Average, Good): Average
- Realism (Poor, Average, Good): Average

5. LetsEnhance.io
LetsEnhance.io offers an image upscaler, enlarger, and enhancer all built into one sleek online tool. You can drag images into your browser and enlarge them by up to 16 times(!) the original size. Quality remains similar or better than the smaller picture thanks to AI. I found it particularly appealing for making print-quality images, since LetsEnhance has features like a print on-demand API and print quality booster.
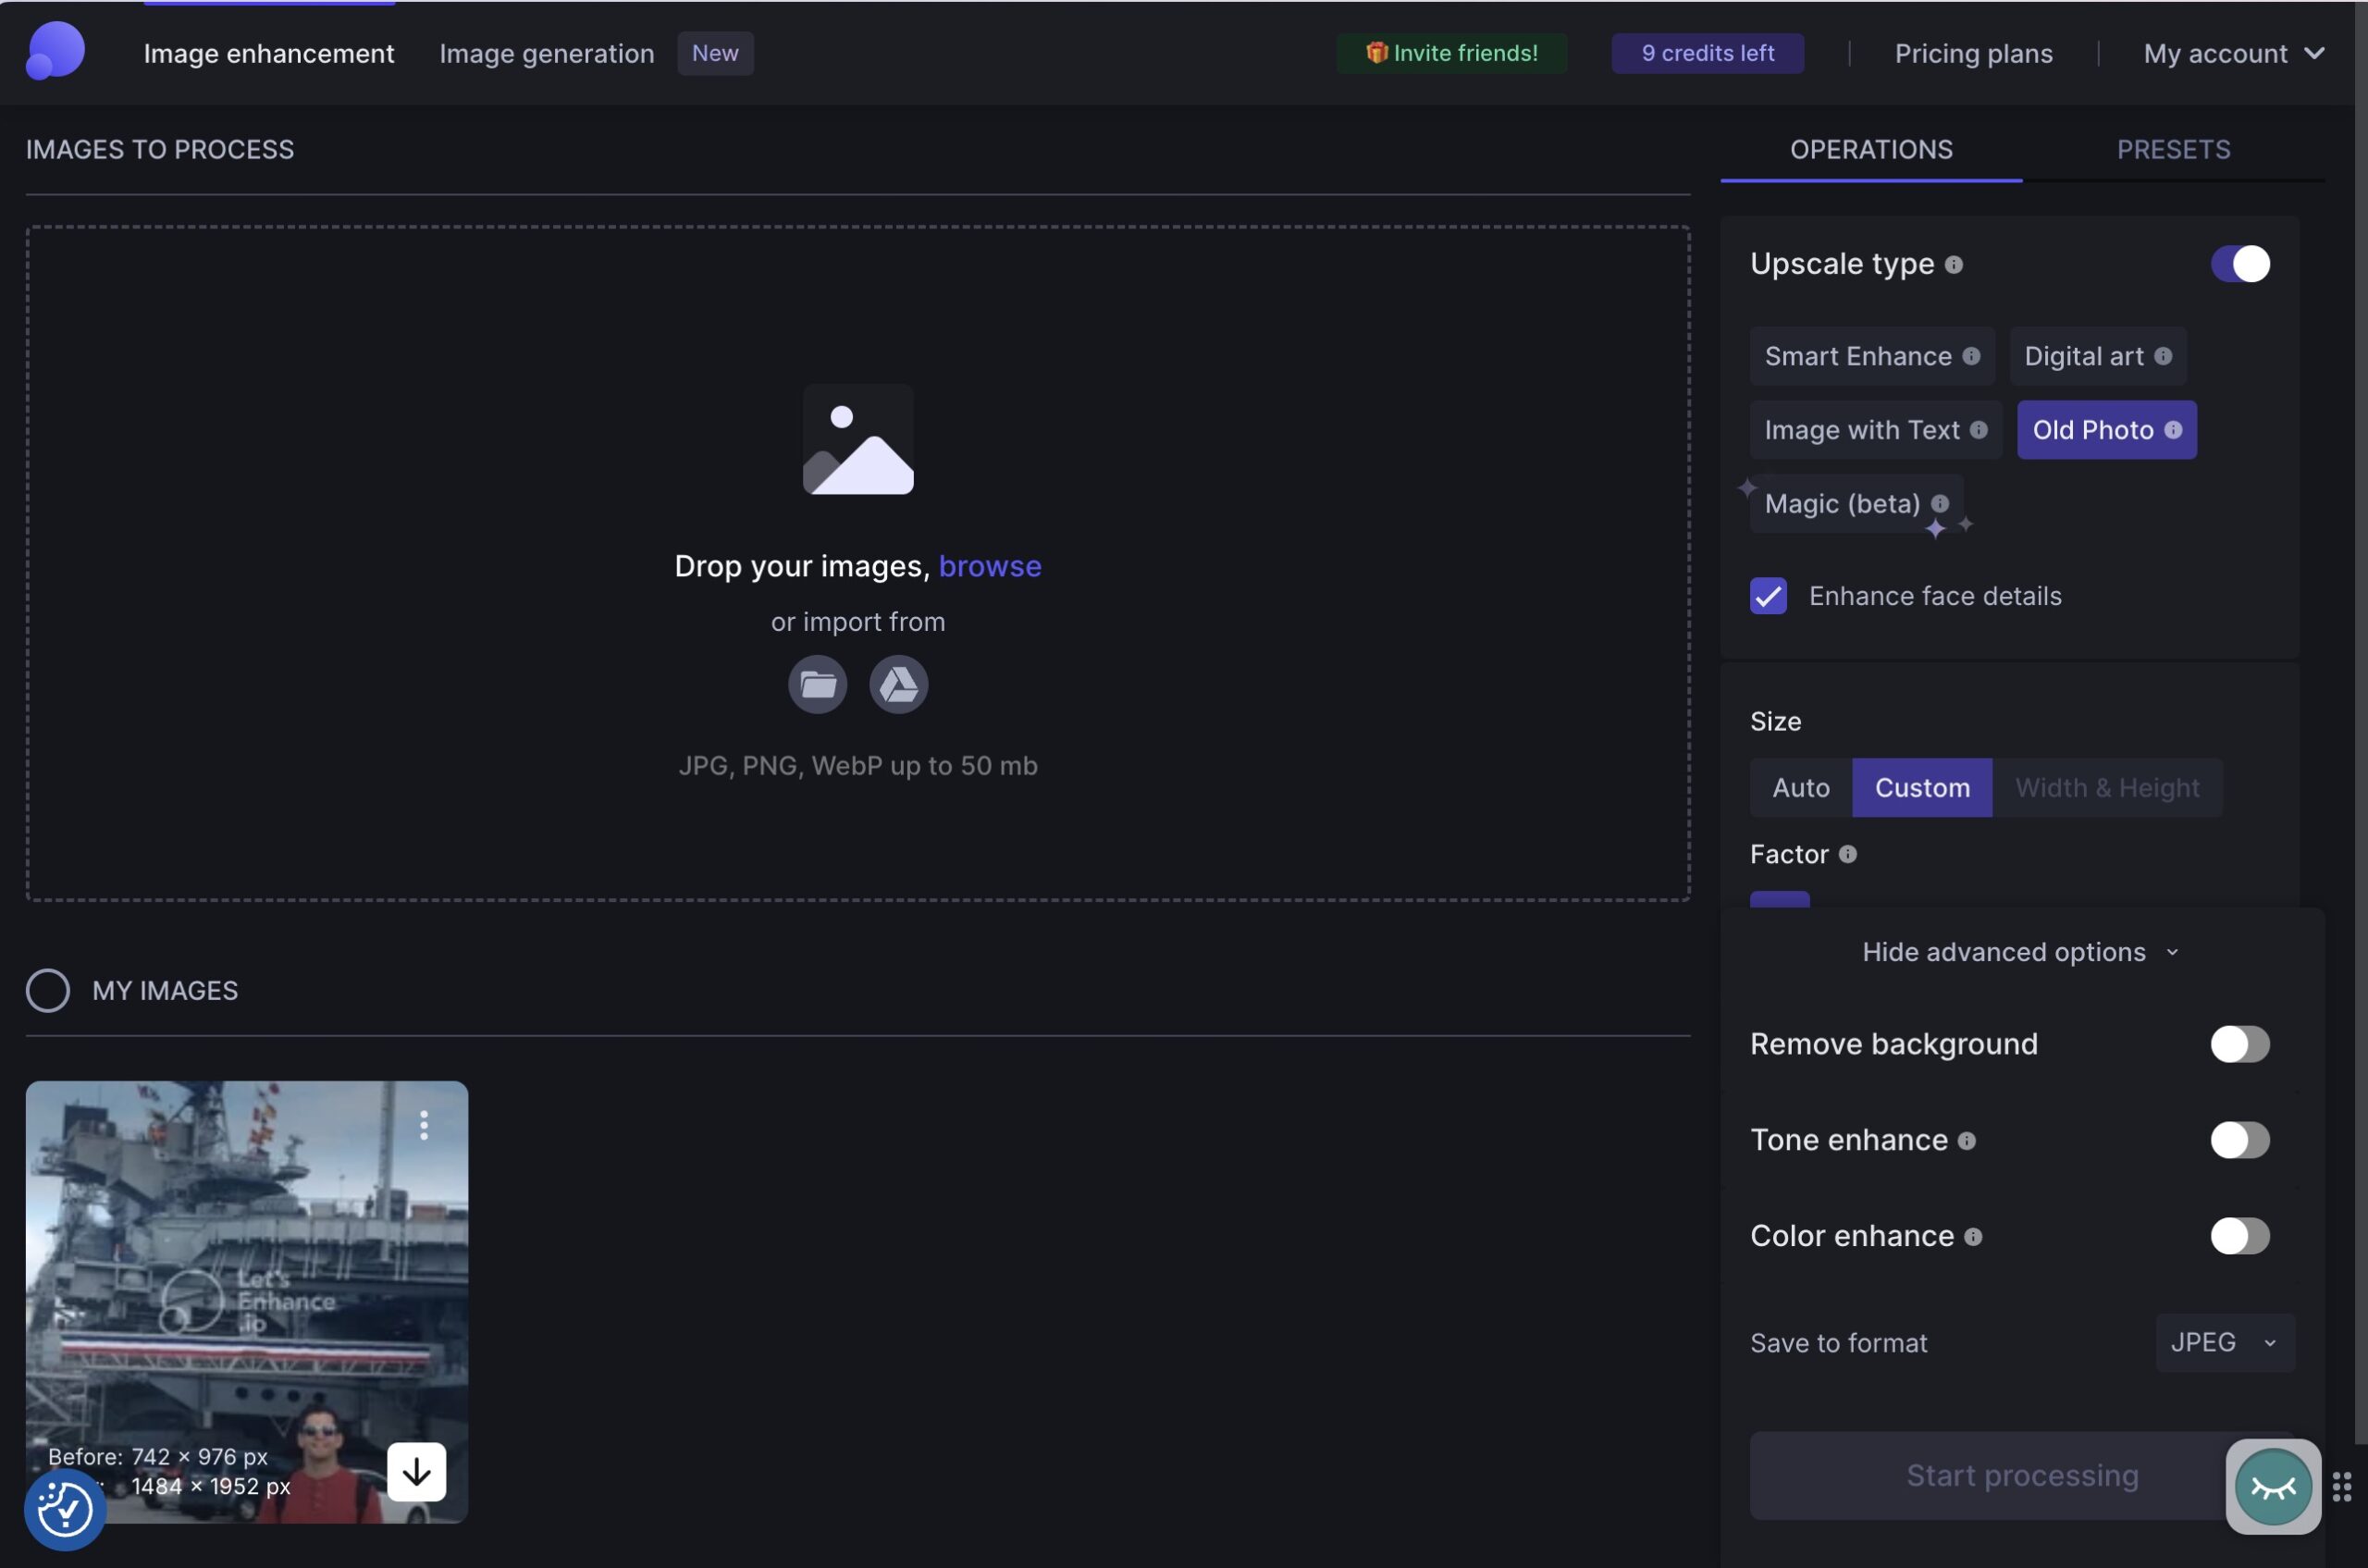
After you upload an image to the browser dashboard, LetsEnhance offers an intuitive panel for upscaling different types of photos. Nothing really happens automatically, so I had to go through each setting to make the perfect situation for enlarging my photos.
⚙️ Key features
- Multiple upscaling types like a quick smart enhance, digital art option, and one for reviving an old photo.
- Quick tools to enhance faces within photos.
- Photo enlarging up to 16x.
- Custom size editing.
- AI and color improvements through artificial intelligence.
- Support for JPEG, PNG, and WebP, along with uploads from Google Drive.
- Presets to optimize your upscaled photos for printing.
- Advanced options for removing backgrounds and enhancing color/tone.
💳 Pricing
I’m not a fan of the subscription pricing from LetsEnhance, but it at least provides flexible options to only pay for processing with credits as you go. All subscriptions also get some free credits after signing up.
- Subscription: You receive 10 free credits to start, after which you can sign up for a monthly subscription that starts at $9 per month for 100 credits.
- Pay As You Go: Starting at a one-time payment of $9 for 20 credits. The highest bundle offers 120 credits for a one-time payment of $39.
- For Business: Starting at $72 per month for 1,000 credits. These plans offer the highest quality enhancements – up to 500 megapixels. You can also request access to the API integration.
Keep in mind that one credit doesn’t equal one processed image. You may have to spend two or three or ten credits on an image if you add too many enhancements.
📊 Test results
Using LetsEnhance for Image 1, I noticed excellent results after increasing the size of the image by 2x. LetsEnhance produced richer colors, sharper details, and seemed to even out some of the bright spots in the photo. As a bonus, the image still looked like the original, without any over-smoothing or unnecessary artsiness added by the AI.
For Image 2, the realism of my photo remained after enlarging the photo by 2x. I can’t say that the quality improved that much, but that’s not always what you’re looking for with an image enlarger. Sometimes I just need a tool that doesn’t make the image all pixelated after blowing it up. If anything, I would say that LetsEnhance brought some of the elements into focus. Everything is a tad brighter, and some of the details on the ship are easier to see. My face remained realistic, too, with added brightness and perhaps some slight blurriness.
Results for Image 1:
- Size increase: 2x
- Quality improvement (Poor, Average, Good): Good
- Realism (Poor, Average, Good): Good
Results for Image 2:
- Size increase: 2x
- Quality improvement (Poor, Average, Good): Average
- Realism (Poor, Average, Good): Good
6. Nightmare AI
Nightmare AI is an AI-only upscaler and enhancer for making images bigger without losing quality. I found it to be a more automated solution. You simply pick a few settings, then click “Submit.” There’s less control over the results with an approach like this. However, I enjoyed how quick it was, even though I would only use it for certain types of photos.
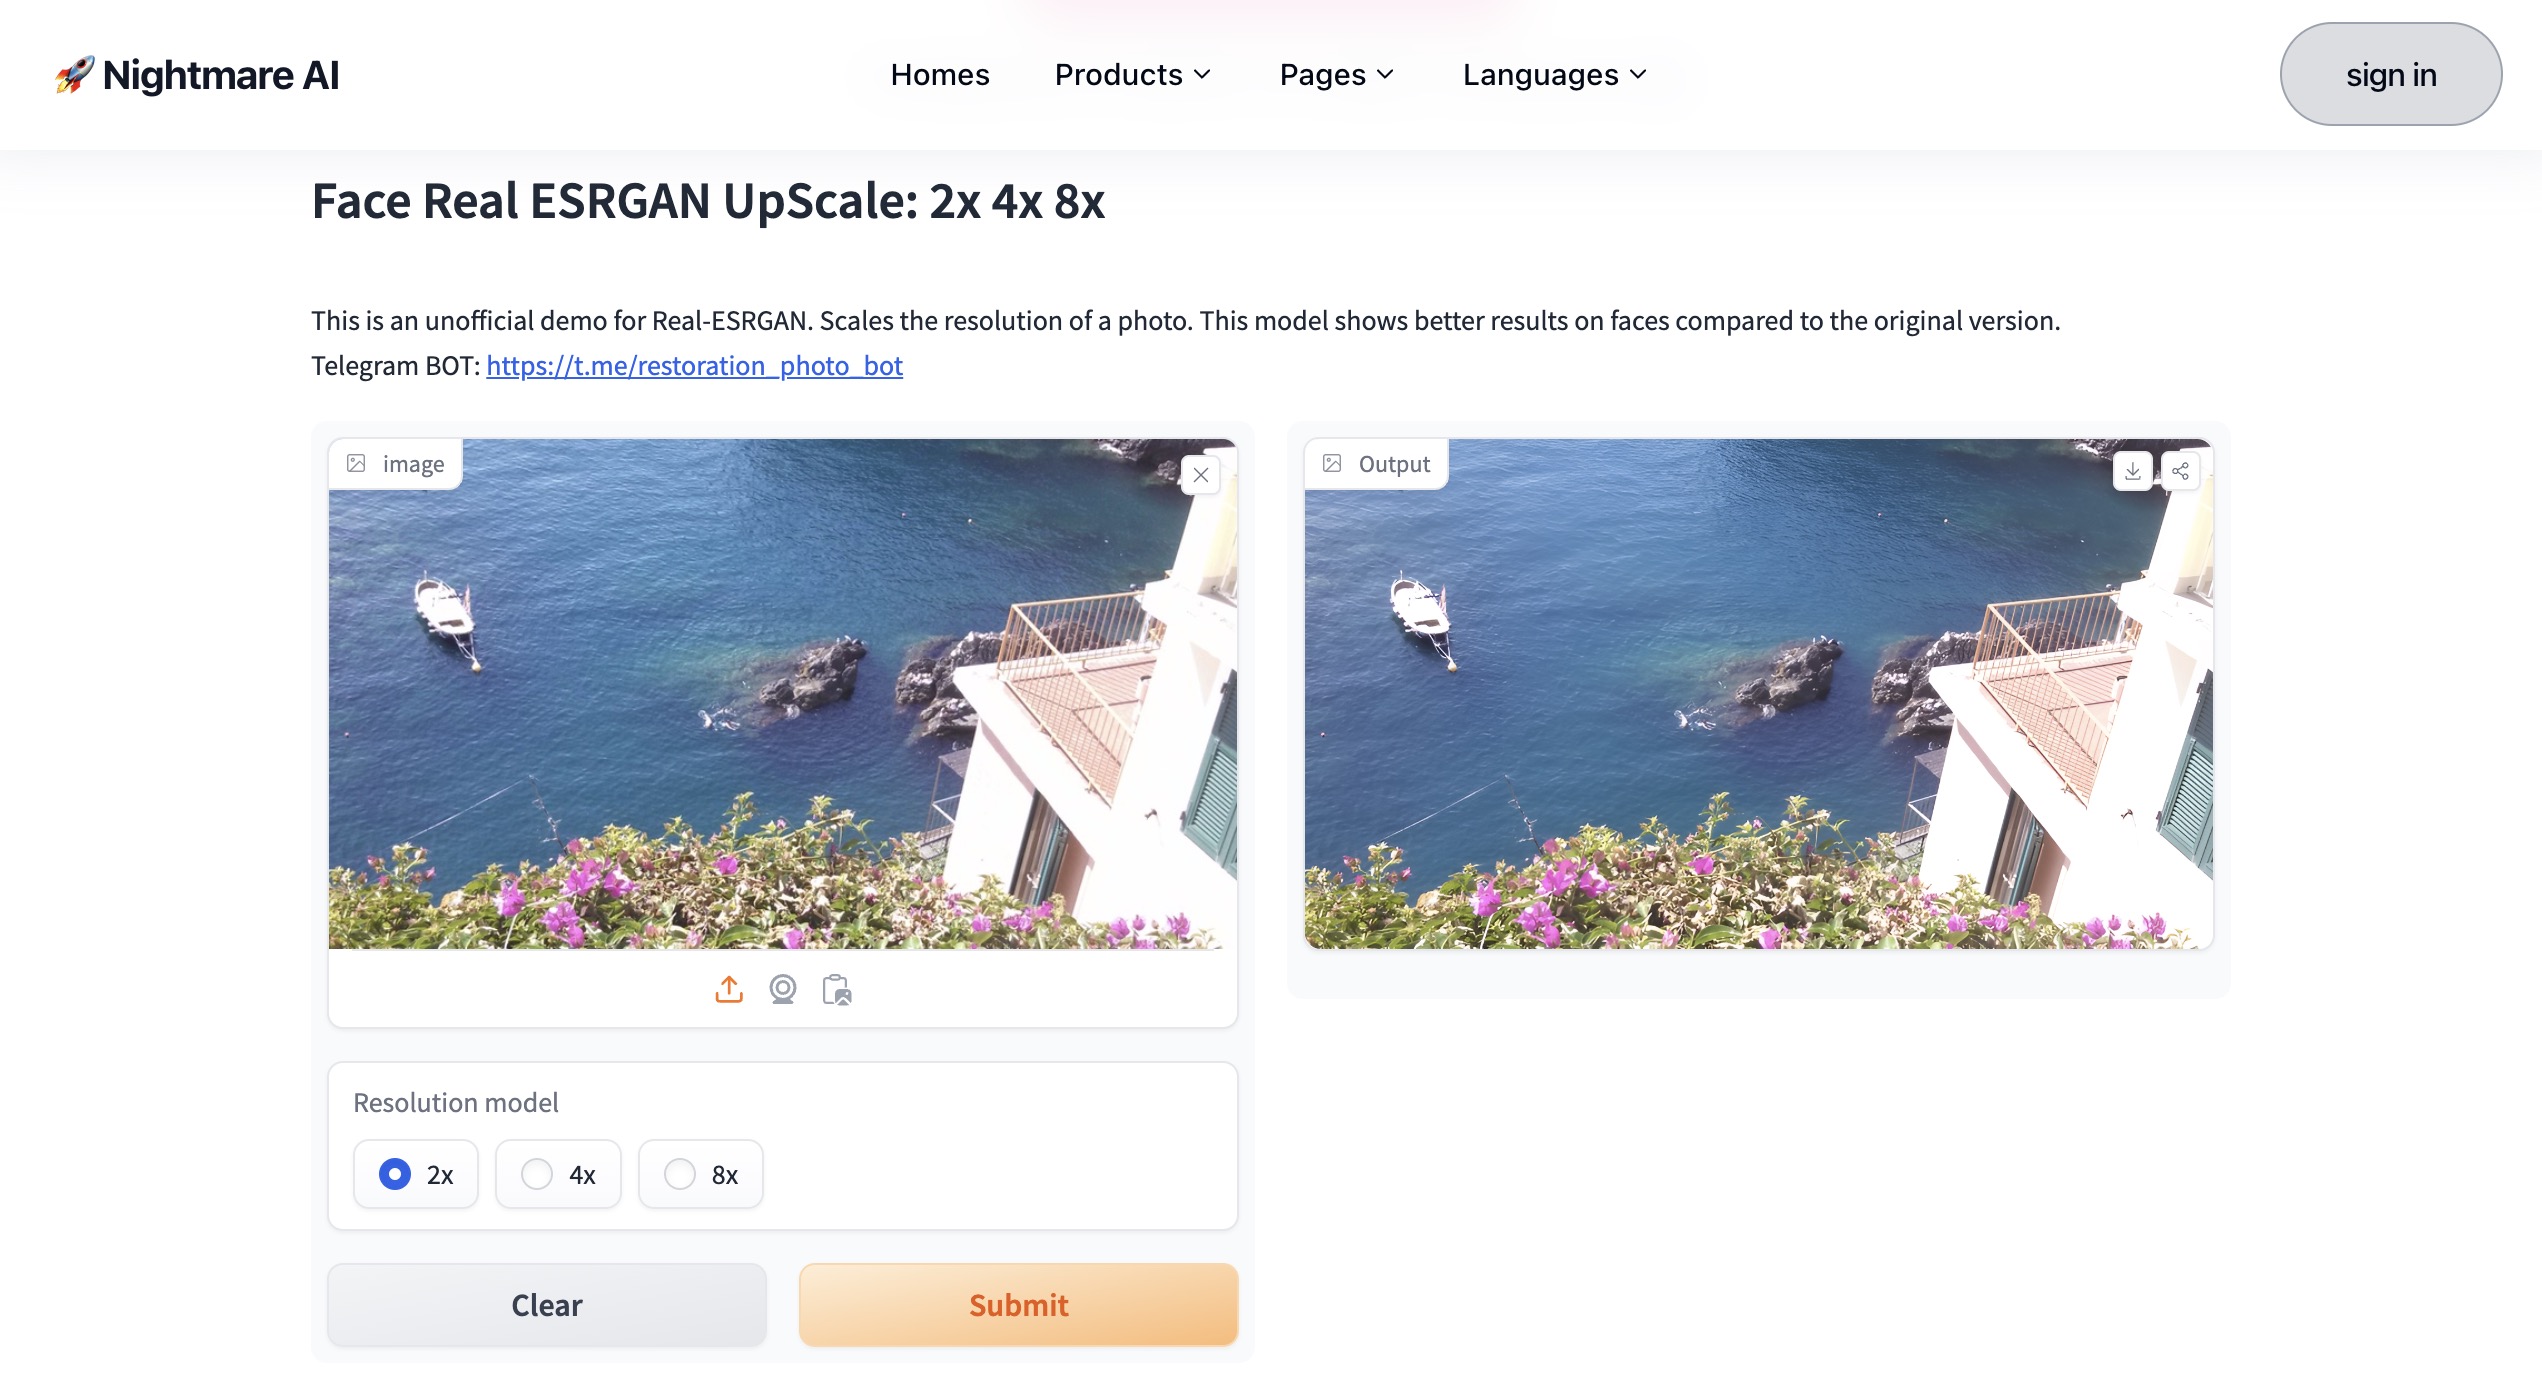
The interface operates through any browser. That’s convenient, except for the fact that Nightmare AI serves up advertisements throughout almost every part of the website. That’s no good in my opinion. I’m able to get over that downside since Nightmare AI functions as the cheapest, most accessible solution that anyone can use on a browser.
⚙️ Key features:
- Upscaling with AI – all the way up to 4K quality.
- Speciality upscaling for anime and cartoons.
- Image enlarging up to 8x.
- Special blurriness fixer features.
- Options to add more photo details with AI.
💳 Pricing
You get a few free credits to process for free. But that doesn’t last long. Upgrading requires a small fee for a batch of image credits, and it’s one of the more affordable ways to do this type of upscaling. There are “plans,” but they don’t renew. It’s just a one-time payment to pay as you go. That’s the next best thing to a one-time payment for an entire software.
Here’s the pricing:
- Free Plan: A one-day license with two credits. It’s pretty much pointless for anything but getting a very quick test of how Nightmare AI works. You can’t download any images with the free plan.
- Basic: $9.90 for a one month license. This is a one-time payment with no recurring bill. It comes with 50 credits.
- Standard: $19.90 for a three month license. This is also a one-time payment. You get 300 credits.
📊 Test results
I only recommend Nightmare AI for very specific use cases. There isn’t much customization you can do on your end. So you’re stuck with the results. And Nightmare AI utilizes heavy amounts of AI, some of which fail to produce realistic results. I do, however, like it for making larger cartoons, softer images, and to improve blurriness for shapes and sharp edges in photos.
My test of Image 1 shows what I mean by “softer images.” In some cases, you may want smoother ripples – to show motion – in the water. More often than not, though, I would argue that the enhanced version of this photo is of lower quality. It removes many of the details. Having said that, you may find this is your best bet when trying to enlarge a very low quality image. Overall, I’d say the quality of this test is average. It is, however, pretty darn good considering I increased its size by two.
Image 2 provides a fascinating result. Everything looks cleaner. I’d argue that the boat comes out beautifully. Because of its geometric shape, the “smoothing” of the edges and details actually makes it look enhanced. I can say the same about the cars in the background. That’s where AI comes in handy with a tool like this. My face and shirt, on the other hand, appear more like a digital painting where it washes out all texture and smears over it with a similar color. I saw much worse during my testing, but I’d recommend avoiding Nightmare AI if a person is in the photo (unless it’s a cartoon person).
Results for Image 1:
- Size increase: 2x
- Quality improvement (Poor, Average, Good): Average
- Realism (Poor, Average, Good): Good
Results for Image 2:
- Size increase: 2x
- Quality improvement (Poor, Average, Good): Good
- Realism (Poor, Average, Good): Average

7. Clipdrop
Jasper, the AI marketing and content creation platform, acquired Clipdrop to add image upscaling and editing to its portfolio. Clipdrop by itself offers a limited free online tool to upload images to your browser to make them larger and higher quality. I’ve tested Clipdrop in the past. It’s the main example I use when referring to how AI image upscalers produce “cartoonish” results. Yet, I gave it another whirl to figure out if it has improved.
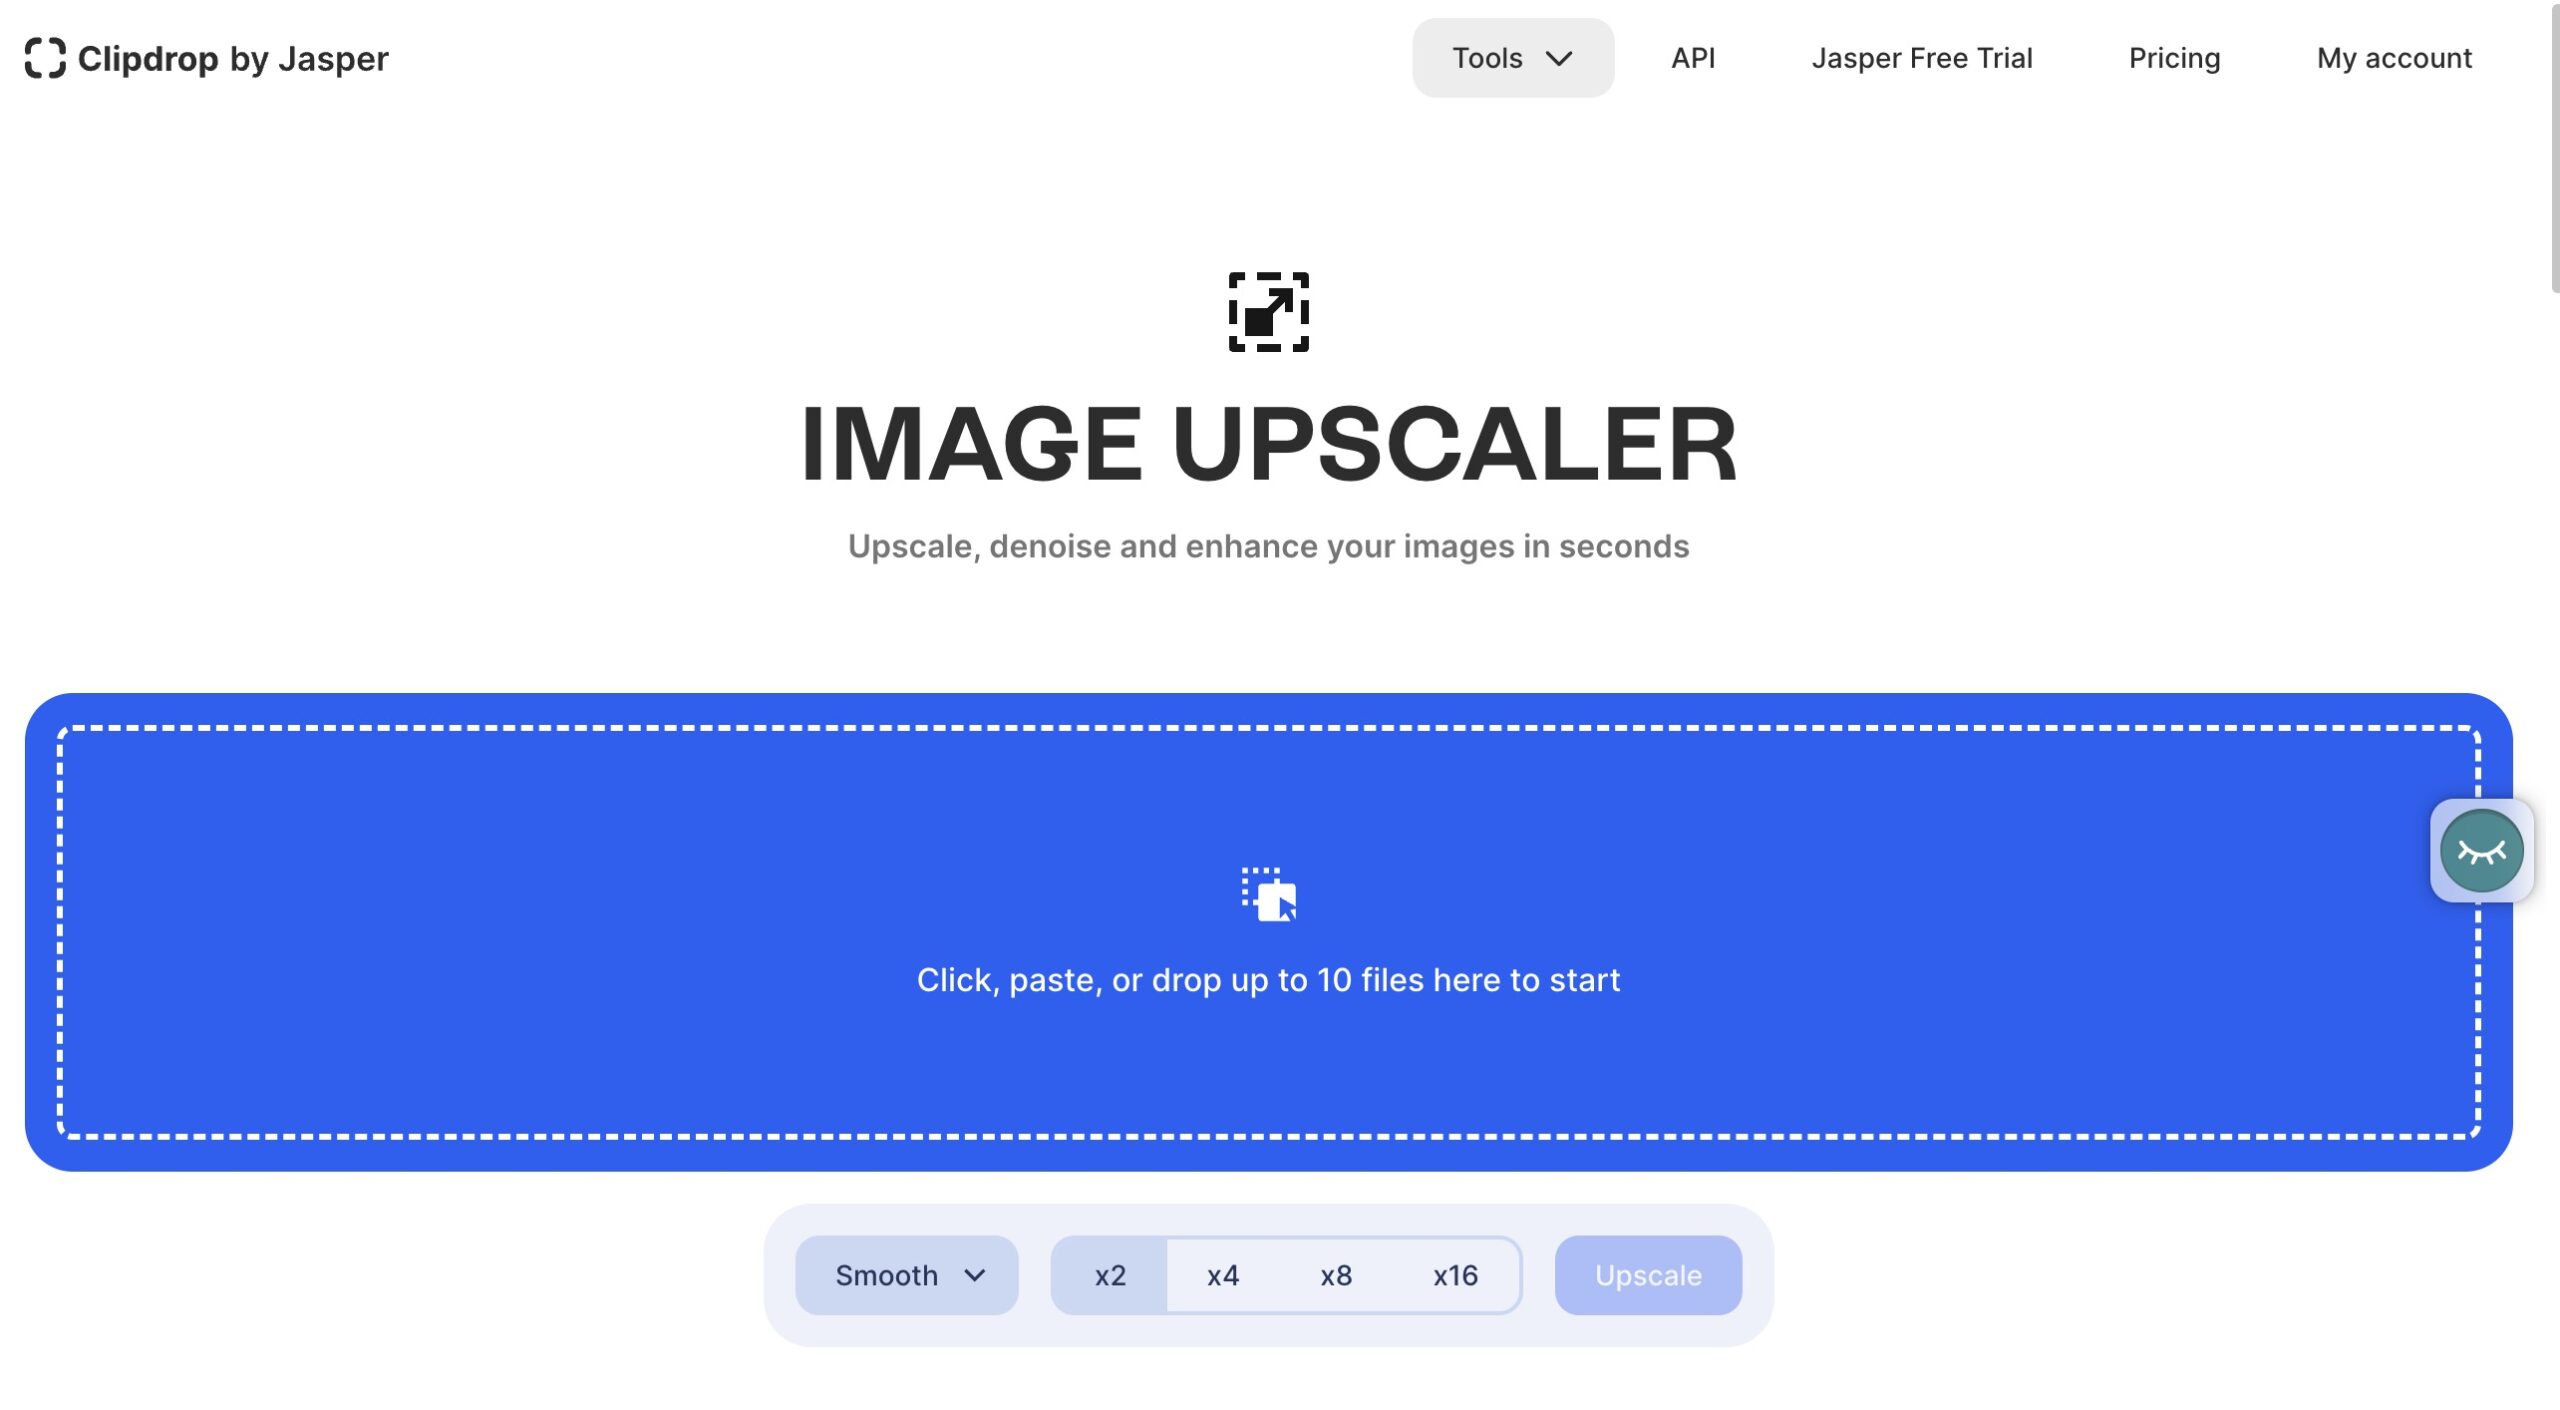
I can’t say the automated features have improved that much, but I found the user simply has to make their own finishing edits to produce a useable image. Otherwise you’re stuck with an image that screams “Made with AI.”
⚙️ Key features
- Upscaling images up to 16x.
- Options for smooth or detailed quality results.
- Integrations with other Jasper and Clipdrop tools: generative fill, background replacements, instant text to image, and more.
- An API to integrate with other products.
- Unique AI tools to swap people, uncrop, replace the sky, and complete a “universal resizing.”
💳 Pricing
Clipdrop offers the closest thing to a free AI image enlarger. It has a free, limited feature plan along with a straightforward premium plan with annual and monthly payment options.
- Free: $0 for unlimited images. You can only enlarge an image to 2x, and many of the extra features get restricted.
- Pro: Starting at $15 per month for all features and up to 16x image enlarging.
The API pricing is based on usage.
📊 Test results
For Image 1, I saw few noticeable improvements in the photo’s quality. If anything, some of the details softened (a common side effect of AI image processing). Having said that, it’s not a bad quality result considering I enlarged the image by four times. And I found that an image like this – with landscape elements and buildings – actually looked real when compared to the next test.
Clipdrop’s handling of faces needs work. Although I was able to make my face somewhat realistic with several edits, I struggled to remove some of the weird blurs and lines in my ears and mouth that come with AI. It did an okay job keeping some texture on my shirt, but my smile ended up far too wide and sinister – and it almost looks like I have clipart sunglasses. The items in the background, however, came out pretty nice. I can see the cars clearly now, and the boat still looks like a boat after the image enlarging.
Results for Image 1:
- Size increase: 4x
- Quality improvement (Poor, Average, Good): Average
- Realism (Poor, Average, Good): Good
Results for Image 2:
- Size increase: 4x
- Quality improvement (Poor, Average, Good): Good
- Realism (Poor, Average, Good): Poor to Average
Which photo enlarger is best for you?
I suggest trying them all and potentially keeping one or two installed on your computer. The reason for this is that all photos resize differently. Some of the tools work better with drawings, or vector-styled, graphics. Others performed great for detailed landscape images, but not for vectors or shape-based graphics (like logos).
Based on image quality, realism, and resize potential, here’s my final ranking:
- 🥇 GigaPixel
- 🥈 Upscale.media by PixelBin.io
- 🥉 On1
- 👏 Upscayl
- 👏 LetsEnhance
- 👏 Nightmare AI
- 👏 Clipdrop
Once you have your resized image, you still want to optimize it so that the larger image doesn’t slow down your website. To help you do that, check out this 👉 comparison of the best image optimization plugins for your WordPress site.
Do you still have any questions about how to make images larger without losing quality? Ask us in the comments!

FREE GUIDE
4 Essential Steps to Speed Up Your WordPress Website
Follow the simple steps in our 4-part mini series and reduce your loading times by 50-80%. 🚀