

Trying to choose between Cloudinary vs imgix vs ImageKit vs Optimole to optimize your website’s images?
All of these tools offer a new breed of website image optimization where you can dynamically optimize images on the fly. The advantage is that you can create an optimal experience for each visitor. For example, visitors with 4K screens get a higher-resolution image than those on 600 px smartphones.
To help you choose between Cloudinary vs imgix vs ImageKit vs Optimole, we’ll go hands-on and compare each tool using the following metrics:
- Optimization (we’ll run a real test using one JPEG and one PNG image)
- Ease of setup on WordPress
- Key features
Cloudinary vs imgix vs ImageKit vs Optimole: Quick decision ⏰
If you’re short on time, here’s a quick summary of our results:
- Optimole was the best at optimizing our test JPEG image.
- Cloudinary was the best at optimizing our test PNG image (but also the worst at optimizing our test JPEG).
- Optimole had the best overall optimization when looking at both the JPEG and PNG images.
- Optimole and Cloudinary had the easiest setup process for WordPress users. You can be up and running on WordPress with just a few clicks and don’t need to deal with any technical steps.
Here’s a table comparing the key findings from our post – read on for a more detailed look at each service.
JPEG and PNG size refer to the file size of the optimized image delivered from each service. Lower is better.
| Cloudinary | imgix | ImageKit | Optimole | |
|---|---|---|---|---|
| * These refer to the original image format. All of these tools converted the images to WebP when we tested in Chrome. ** On WordPress – things might be different for other platforms. *** imgix used to have an official plugin but no longer maintains it. However, third-party users forked that plugin, which is available at WordPress.org. |
||||
| JPEG size* | 98.8 KB | 45 KB | 41 KB | 30.6 KB |
| PNG size | 18.9 KB | 34.8 KB | 30.5 KB | 28.4 KB |
| Ease of setup** | ⭐⭐⭐⭐⭐ | ⭐⭐⭐ | ⭐⭐⭐⭐ | ⭐⭐⭐⭐⭐ |
| WordPress Plugin | ✅ | ❌*** | ✅ | ✅ |
| CDN | ✅ | ✅ | ✅ | ✅ |
| Dynamic Optimization | ✅ | ✅ | ✅ | ✅ |
| Hosted Asset Library | ✅ | ✅ | ✅ | ❌ |
| Free Plan | ✅ | ❌ | ✅ | ✅ |
| Start Price for Pro | $89 / month | $75 / month | $89 / month | $19.08 / month |
If you want to understand how we tested these plugins, here’s the rundown…
Because all of these plugins dynamically optimize images based on each visitor’s device, there’s no single optimized image file to test like a more traditional WordPress image optimization plugin. In order to understand how much each tool can optimize each image, we had to get a little creative.
First, we took two images and added them to a page on our WordPress site:
themes.png – 96 KB

sunset.jpg – 233 KB

Then, we set up each tool on our WordPress site.
From there, we loaded the page on the front-end and looked at the Network tab in Chrome Developer Tools to determine the file size of the delivered image. We also made sure to use the exact same resolution and browser (Chrome’s “Laptop with HiDPI Screen” emulation”).
The file size listed above is the size of the optimized image that was delivered on the front-end of our test site.
Again, all of these tools converted these images to WebP to deliver them in Chrome. When we reference file formats above, we’re referring to the format of the original image that we uploaded to each tool.
Cloudinary vs imgix vs ImageKit vs Optimole: Detailed comparison 🗒️
Cloudinary

Cloudinary offers on-demand delivery and optimization for both videos and images. It’s the only service on this list to support videos.
Cloudinary can manage your assets from the cloud. Then, you can dynamically manipulate and optimize your assets when you deliver them to your site.
Key features ⚙️
- Dynamically deliver the most efficient image format to each visitor.
- Automatically adjust compression levels to ensure quality.
- Scale and crop images when you deliver them.
- Dynamically manipulate images.
- Deliver assets from multiple CDNs including Akamai, Fastly, and CloudFront (Cloudinary can automatically choose the optimal CDN).
- WebP support.
- Optimize and manipulate videos.
- Dedicated WordPress plugin, though you can use it with any website.
Ease of use / setup 🔧
To help you use Cloudinary on WordPress, the team offers an official plugin. With the plugin, you can connect to your Cloudinary account by entering your Environment variable URL.
Once you connect it, you’re done! Cloudinary will automatically sync your WordPress media library and start optimizing/delivering your images for you.
imgix

To describe imgix, I’ll turn to the subheading from their homepage:
[imgix] empower[s] marketers, developers, and designers to optimize and deliver images seamlessly across various digital platforms and devices.
There’s not much to add to that!
Key features ⚙️
- Dynamically compress images and convert them to optimal formats (like WebP).
- Automatically resize images based on a user’s browser and resolution.
- Add watermarks or other additions.
- Generate text overlays.
- WebP support.
- Deliver images via a CDN.
Ease of use / setup 🔧
Unfortunately, imgix is the only tool on this list not to offer a dedicated WordPress plugin or any dedicated WordPress documentation.
While I was able to set up all of the other tools within minutes, imgix took me some time to figure out and get working. Eventually, I figured out that it’s not that difficult, but the lack of an official WordPress plugin or WordPress documentation made it harder than it needed to be.
To get started, you’ll need to sign up for an imgix account. Then, you can add your WordPress site’s URL as a source.
When you add your source, you’ll also be able to specify your imgix domain, which is where your images will be served from.
Then, you can use the third-party-maintained Images via imgix plugin which, while it hasn’t been updated in three years, seems to still work.
ImageKit

ImageKit is another tool that offers real-time image optimization and manipulations. You can transform a single master image using different parameters and ImageKit will also automatically deliver an optimized image for each individual user.
Key features ⚙️
- Automatically scale and compress images based on each visitor’s device.
- Deliver images via Amazon CloudFront CDN.
- Dynamically manipulate images.
- WebP support.
- Dedicated WordPress plugin, though you can use it with any website.
Ease of use / setup 🔧
To get started, you’ll need to register for an ImageKit account. Then, you’ll need to set up your WordPress site as an “Origin” in your ImageKit account.
Once you add your WordPress site as an origin, you’ll get an Endpoint URL. To use that URL, you can install the official ImageKit WordPress plugin and paste in the endpoint URL.
From then on, ImageKit will automatically handle serving and optimizing your site’s images.
Optimole
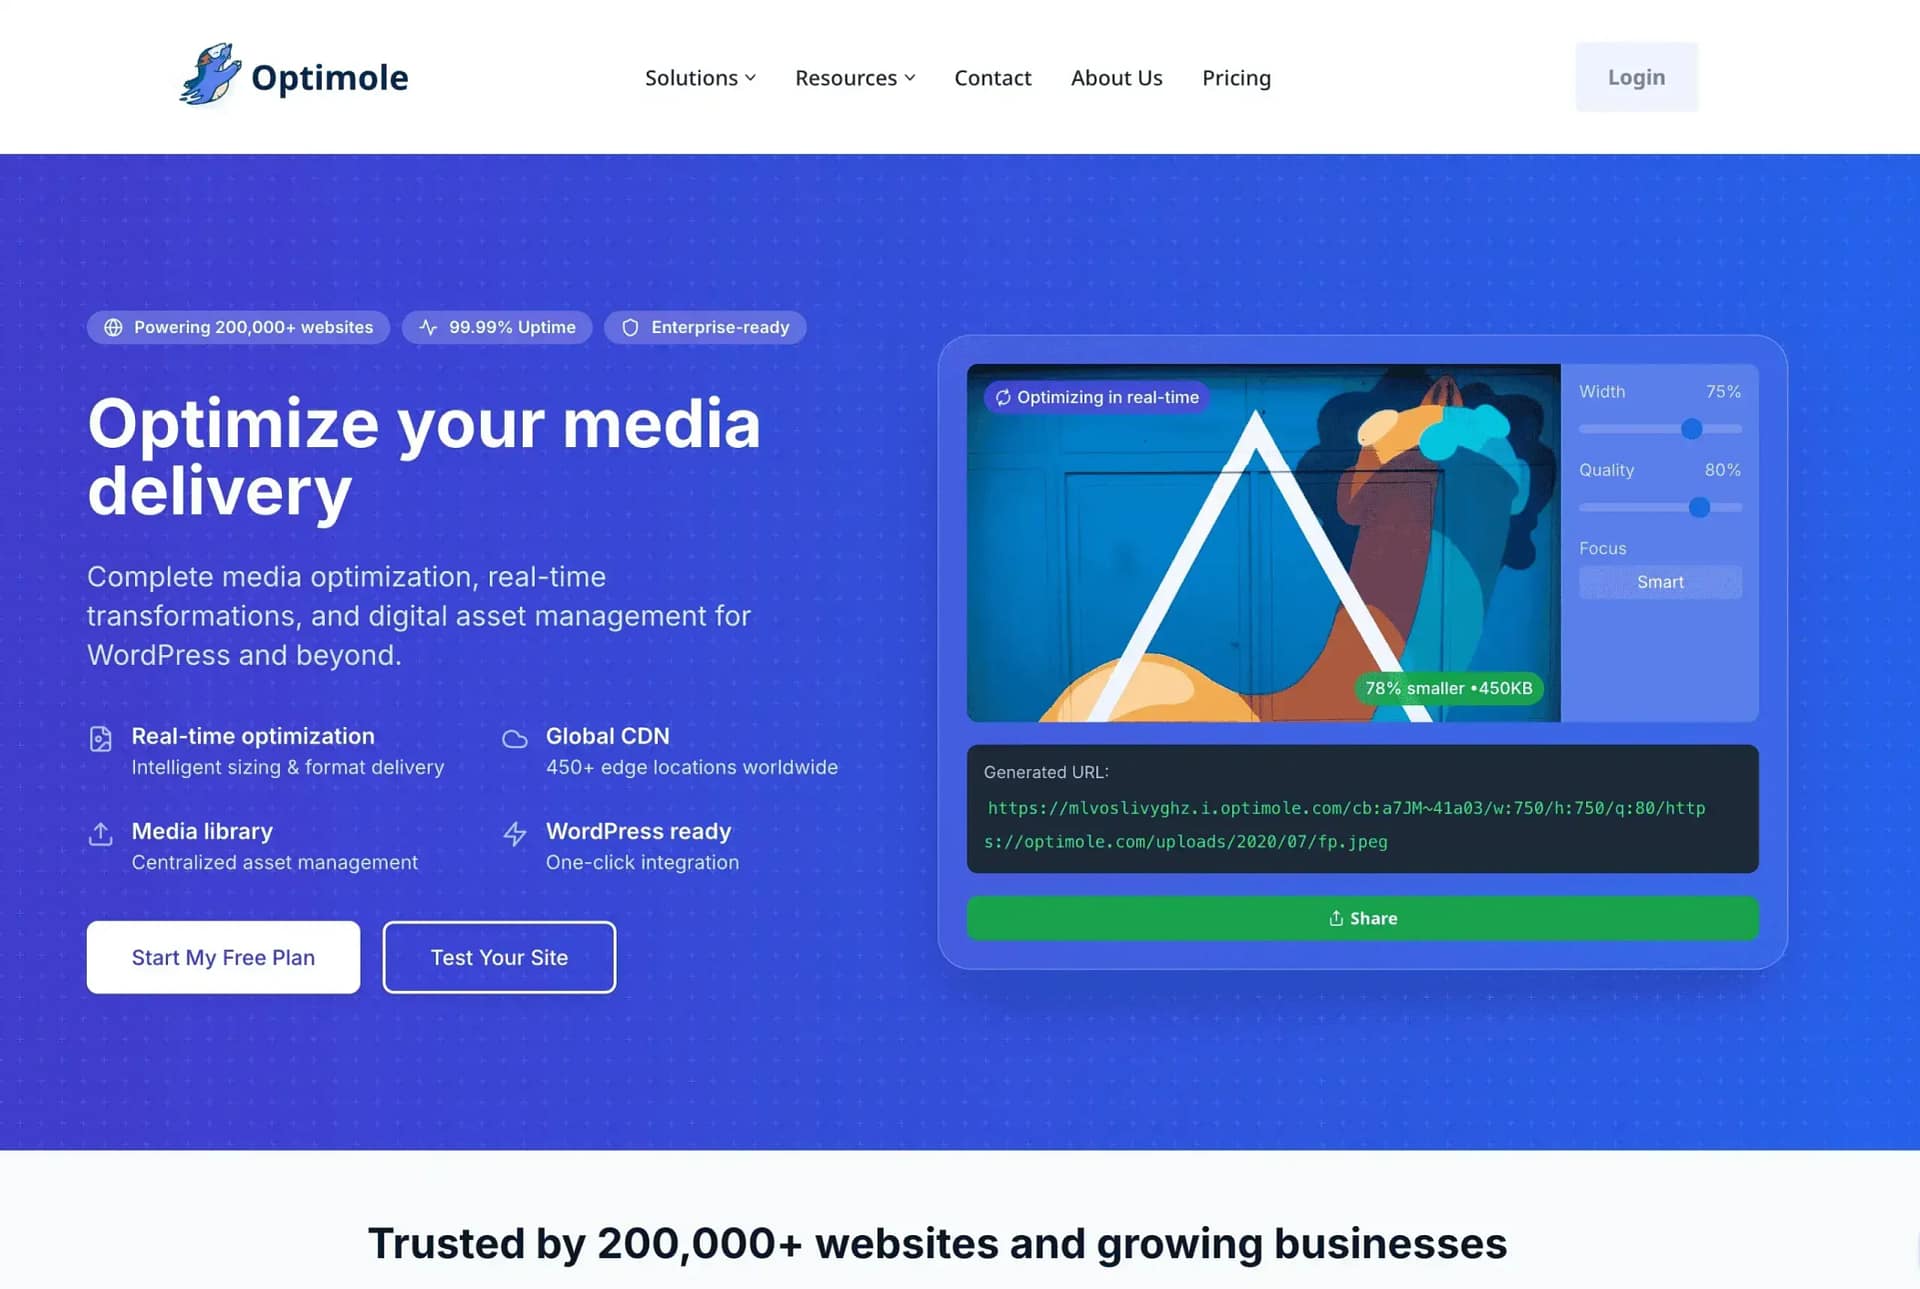
Unlike the other tools that also let you manipulate images, Optimole is mainly focused on image optimization (though it does offer some manipulation, like adding a watermark).
You can automatically optimize your images with compression, resizing, and formats (e.g. converting to WebP).
Optimole will also automatically deliver the optimal image size for each visitor and it can help you implement other techniques like smart lazy loading.
Note: Optimole is a creation of Themeisle’s sister company.
Key features ⚙️
- Automatically scale images based on each visitor’s device.
- Automatically compress images – you can choose different compression levels.
- Serve images via Amazon CloudFront CDN (over 450 locations).
- Unmetered bandwidth.
- Smart lazy loading to speed up initial page load times.
- WebP support.
- Dedicated WordPress plugin, though you can use it with any website.
- Add watermarks to images.
Ease of use / setup 🔧
Optimole offers a dedicated WordPress plugin. Once you install the plugin, all you need to do is activate it, add your email address, and tap a button. The system will then generate an API key for you and connect your free account to your WordPress site.
Afterwards, Optimole will automatically sync your media library, optimize your images, and deliver them via the CloudFront CDN. You can be up and running in a few minutes.
Final thoughts 💭
Overall, two services stood out in our testing:
- Optimole had the best overall optimization performance, offers a fast non-technical WordPress plugin, and has a free plan.
- Cloudinary also performed well (especially for the PNG test), offers a fast non-technical WordPress plugin, and has a free plan.
ImageKit and imgix also made a big difference in image optimization and offer dynamic image manipulation. However, they aren’t quite as easy to use for regular users and still lagged a bit behind Optimole and Cloudinary in the overall experience.
If you’re looking for some other ways to optimize your website’s images, you can also consider the following posts:
Do you have any questions about choosing between Cloudinary vs imgix vs ImageKit vs Optimole? Ask us in the comments!

FREE GUIDE
4 Essential Steps to Speed Up Your WordPress Website
Follow the simple steps in our 4-part mini series and reduce your loading times by 50-80%. 🚀


