

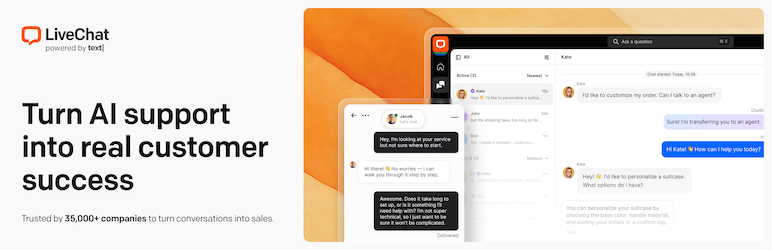
Searching for an easy way to add WordPress live chat functionality to your site? While there are plenty of quality live chat plugins, live chat is a bit tricky because, unlike most WordPress plugins, you’re going to spend a ton of time in the plugin’s interface while chatting with customers.
The upshot is that you need to pick a WordPress live chat solution that’s not just easy to set up, but also gives you a solid set of tools to manage conversations with your customers. Otherwise, you’re going to struggle to stay on top of all your different conversations.
In this post, you’re going to learn how to add live chat in WordPress without any fuss using a solution that lets you respond to your customers from:
- A web interface
- Desktop apps for Windows or Mac
- Mobile apps for iOS and Android
In order to get you that functionality, we chose to use a premium solution for that tutorial. But while it is a premium tool, you can get a 14-day free trial with no credit card required, so you’ll be able to follow this tutorial without spending a dime.
We’ll also share a tutorial for a 100% free live chat tool at the end of this post, though it’s a bit more limited.
How to add WordPress live chat functionality to your site
In this section, we’ll show you step-by-step how to WordPress live chat functionality to your site. Even if you’re a non-technical user, you should have no problem following along. As we promised, you won’t have to look at a single line of code to get this done!
- Step 1: Install the LiveChat plugin from WordPress.org
- Step 2: Create your free LiveChat account
- Step 3: Connect LiveChat plugin to your LiveChat account
- Step 4: Learn the LiveChat interface
- Step 5: Customize your live chat to match your site
- Step 6: Start Chatting!
Step 1: Install the LiveChat plugin from WordPress.org
To get started, install the “LiveChat – WP live chat plugin for WordPress” plugin from WordPress.org.
If you’re not sure how to install a WordPress plugin, check out this tutorial.
Step 2: Create your free LiveChat account
Once you’ve installed and activated the plugin, head to the LiveChat service website, where you can create your account by entering a few simple details. Again, you get a 30-day free trial with no credit card required – so you won’t need to enter any payment information:

In the next step, you’ll need to enter your website URL, as well as what you plan on using your WordPress live chat box for:

Then, you’ll need to enter a little information about your company:
And that’s it!

Step 3: Connect LiveChat plugin to your LiveChat account
Now, head back to the LiveChat area in your WordPress dashboard and click the option to Sign in with LiveChat:

You’ll see a prompt pop up – click the Allow option:

And that’s it! You just added live chat to your WordPress site. Head to the front-end of your site and check it out:

Step 4: Learn the LiveChat interface
To manage most aspects of your WordPress live chat functionality, you’ll use the LiveChat website interface. There’s a lot going on, but the tool gives you a pretty detailed welcome wizard that will take you through the most import aspects of the interface.
While you might be tempted to skip it, we really recommend that you go through the setup wizard as it will point out a lot of important features.
Just head the LiveChat website and sign in. Then, you’ll see a prompt to start the wizard:

Step 5: Customize your live chat to match your site
Once you finish out the welcome tutorial, you should be ready to start chatting away with your visitors. The only thing you still might want to do is customize how the live chat box looks on your site.
To do that, you’ll also use the LiveChat website.
First, access the Settings area by clicking on the Gear icon in the LiveChat interface. Then, you can use the Customization option under Chat window to:
- Pick a new chat box theme
- Change up colors to match your site
- Move the chat box from the right to the left
- Decide whether or not to display your logo or the live chat agent’s avatar
- Enable sounds

You might want to poke around the rest of the settings to see what all you can do.
For example, the Engagement area lets you set up automatic greetings for your visitors. And the Chat settings area lets you change how the chat box looks for certain pages (or just completely disable it for certain pages).
Step 6: Start Chatting!
At this point, you should be ready to start chatting with your visitors. You can either use the web interface that you saw in the tutorial from Step 4. Or, you can consider using one of LiveChat’s mobile or desktop apps.
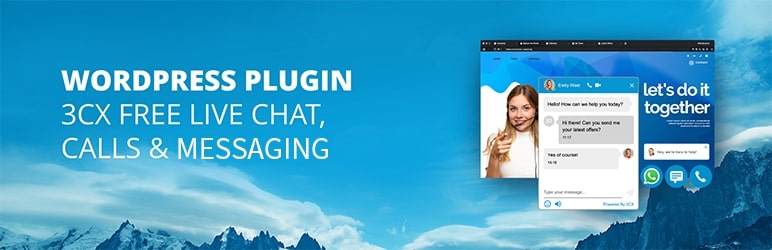
A free alternative to add live chat in WordPress
LiveChat is great for its simplicity and the fact that it gives you so many tools to chat with your visitors, but we understand that you might be on a budget.
If you’re OK with only being able to chat with visitors from your WordPress dashboard, there’s also a free plugin called 3CX Live Chat (formerly WP Live Chat Support) that can help you add live chat in WordPress.
Here’s a rapid-fire tutorial on how to add WordPress live chat functionality with this plugin.
First, you’ll obviously need to install and activate the plugin.
Once you install and activate it, head to the new Live Chat area in your WordPress dashboard. To get started, just click the button to Skip intro and start accepting chats:

And right away, your live chat will be active, which you can preview by going to the front-end of your site:

How to chat with your visitors
To chat with your visitors, you can go to the Live Chat tab in your WordPress dashboard:

How to customize your chat box
To customize how the chat box looks and functions, go to Live Chat → Settings in your WordPress dashboard:

Here, you’ll get a number of tabs where you can configure:
- Chat box fields
- Colors and other styling options
- The message that appears when you’re not available to chat
- Etc.
Enjoy your WordPress live chat
That wraps up our guide on how to add live chat functionality to your WordPress site.
If you’re looking for the most flexible live chat system, LiveChat gives you a range of ways to interact with your visitors, as well as an easy setup process – you’ll just need to pay after the 30-day free trial.
On the other hand, if you’re looking for a 100% free solution, 3CX Live Chat still offers a pretty easy setup process, it’s just not as flexible in the free version when it comes to how you can chat with visitors.
Do you have any other questions about how to get started with live chat on your WordPress site? Let us know in the comments!

FREE GUIDE
4 Essential Steps to Speed Up Your WordPress Website
Follow the simple steps in our 4-part mini series and reduce your loading times by 50-80%. 🚀


