

Many websites are designed with a specific goal in mind. You may want people to buy a product, sign up for an email list, or take part in your event. In these scenarios, you have to encourage visitors to take the plunge, which means you need to add call to action to WordPress.
A Call To Action (CTA) is an element on your site that asks people to do something specific. It could simply be some prominent text, or it might be a dedicated button or sign-up form. Whatever the case, your CTA has to be well-designed and carefully placed if it’s going to be effective at prompting the desired response.
In this post, we’ll explain what CTAs are and why they’re so important. Then, we’ll help you add call to action using four simple techniques. Let’s get started!
What a call to action is (and why it matters)

Netflix’s home page demonstrates a bold and compelling call to action.
Most websites feature some sort of call to action, letting visitors know exactly what they should do next. Usually, this includes a link that will either complete the action or start the process. Even WordPress.org has a simple CTA button in its header:

CTAs are a vital part of your website, and shouldn’t be overlooked. They are your main way of communicating what you want your audience to do, so they need to be effective. Adding properly-optimized CTAs to your blog or website can increase conversions and even boost your revenue significantly. For these reasons, it’s worth spending a little time finding the perfect way to design and incorporate them.
How to add call to action to WordPress (four easy ways)
Creating effective CTAs isn’t hard. You’ll just need to follow some basic advice, such as making your CTAs prominent and adding them to multiple locations. Moreover, they should clearly and concisely state what action you want visitors to take.
What might be more tricky is figuring out exactly how to add call to action. To help you out, here are four simple methods you can use if you’re new to the technique.
1. Create a CTA button
This is probably the most common type of CTA, and for good reason. Adding a CTA button to your site is both simple and effective. Naturally, a button shows visitors where to click and why (a button might read “Click Here to Request a Free Quote”, for example). A well-designed button will easily stand out from the rest of your web page.
There are plenty of plugins you can use to add buttons to your WordPress site, but we’re partial to MaxButtons:
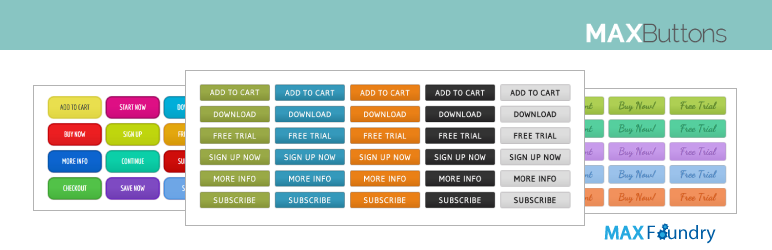
This free, easy-to-use tool will help you add a CTA to your site in no time. After installing it, you’ll find a new MaxButtons tab in your dashboard. To create a new button, click on Add New:

Here, you can customize your button in a wide variety of ways. For instance, you can add text and a link, personalize the font, create spacing, adjust colors, and so on. Keep the on-button text as brief as possible, and make sure it’s linked to your product page, contact form, or wherever else users need to be directed to.
Once you’ve built your button, you’ll be given a shortcode similar to [maxbutton id="1"]. You can use this code to add the button virtually anywhere on your site.
2. Use a dedicated pop-up
A CTA pop-up is similar to a button, in that it stands out from the rest of your site. If used correctly, this method can be even more effective at drawing attention. Plus, you can design your pop-up to appear exactly when and where you need it, whether it’s when a person first loads the page or is about to leave.
The Popup Maker plugin is a popular solution, since it’s highly customizable and enables you to set specific triggers for your pop-ups:

To get started, install and activate the plugin. Then, navigate to Popup Maker > Create Popup in WordPress:

Here, you can enter a title and the text that will appear in your pop-up. After that, scroll down and choose an option from the various triggers and display settings.
You can also use the Conditions section to determine where the pop-up will appear. Just make sure it isn’t too intrusive and is easy to close. That way, you can avoid annoying the very people you want to convert.
When you’re done, you can go ahead and publish the pop-up. This will take effect immediately. You can repeat the process for any number of pop-ups you would like to create.
3. Add a sign-up form to your site
The above two methods work great if you want to get people to buy a product or click through to a specific page. However, what if you want them to sign up for an email list, a membership, or something else? In this scenario, a dedicated form is your best bet.
WPForms can help you out here:
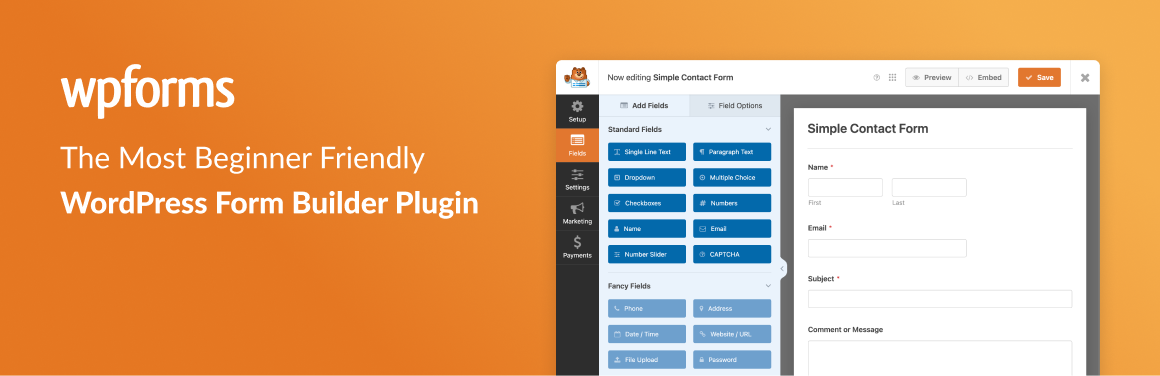
After installing and activating the plugin, there will be a new WPForms tab in your dashboard. Navigate to this tab, and then click on Add New. Now you can select the type of form you want to create:

Next, you can customize what fields will appear and how they’ll be labeled, tweak what the form will look like, and more:

Don’t forget to save your changes and preview your form on the front end. When you’re done, you can use a widget or shortcode to add the sign-up form to your site.
You may want to place the form in multiple locations, and even use a button or pop-up to direct visitors to it. For more options, you can also check out the premium version of WPForms.
4. Encourage readers to share your posts
If you run a blog, you probably want readers to share your posts on social media. This can help you reach more people and increase your referral traffic.
One simple way to do this is to add a text-based CTA at the end of your post:

We recommend that you make the text of your CTA large and bold, so readers are less likely to miss it. You may also want to add social media buttons to make it easier for users to share your content.
Additionally, you could save this element as a reusable block. This way, you can simply add the CTA to every new post you publish, without having to re-create it every time.
Conclusion
If you want to use your website to sell a product, create a community, or something similar, you’ll need to encourage visitors to take action. In most cases, you can’t simply sit around and wait for them to take the necessary steps on their own. Instead, you’ll want to provide them with a targeted nudge in the right direction.
To do that, you’ll need to add call to action. Fortunately, there are a few simple ways to get the job done. You can:
- Create a CTA button.
- Use a dedicated pop-up.
- Add a sign-up form to your site.
- Encourage readers to share your posts.
Do you have any questions about how to add call to action to WordPress? Let us know in the comments section below!

FREE GUIDE
4 Essential Steps to Speed Up Your WordPress Website
Follow the simple steps in our 4-part mini series and reduce your loading times by 50-80%. 🚀


