
When it comes to website management, WordPress has plenty of built-in tools. But they aren’t always immediately obvious. So to help you find the ones you might have missed, this post lists a number of not-so-obvious WordPress options that will help you manage your site.
Just getting started with WordPress? Read on, you’ll enjoy this! 🚀
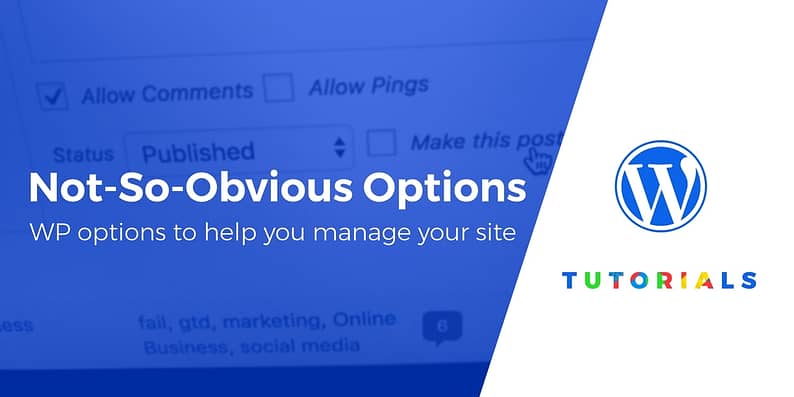
WordPress options for easier site management
📚 Table of contents:
- Get help quickly right from your dashboard
- Make a post sticky
- Change the default category for your posts
- Schedule posts to publish on a specific date
- Change the WordPress URL structure
- Add a favicon to your site
- Log out everywhere
- Manage comments better
- Add a team to make your work easier
- Import content from other platforms like Blogger
1. Get help quickly right from your dashboard
The Help tab at the top right corner of every WordPress dashboard screen is a great shortcut to get a little WordPress help quickly. It connects you instantly to the official WordPress documentation as well as to the Support forums, for the screen that you are currently on. For example, on the Dashboard, this is how it appears.
Using the Help tab is a great way to dig deeper into any problem, before initiating a search for help.
2. Make a post sticky
By default, WordPress displays your blog posts in chronological order on your blog page. But if you want, you can “pin” a post so that it always shows up first. This is known as making a post sticky.
To pin any post to the top of your blog page, you just need to check the box to Stick to the top of the blog:

You can find this box in the right panel of the WordPress editor, in the Summary section under the Post tab.
3. Change the default category for your posts
By default, WordPress publishes a post as “Uncategorized”, not an ideal way to present posts to readers.
It takes only a small settings change in WordPress options to avoid this. First, create a new category by accessing Posts → Categories → Add New Category.

Next, proceed to Settings → Writing.

Under the Default Post Category option, select your newly created category from the drop-down menu and save your changes. Any new posts will now use the selected category by default.
4. Schedule posts to publish on a specific date
You can also get WordPress to publish your post automatically at a scheduled date and time.
In the post editor, head to the Publish option in the right panel and click on the date next to it. This allows you to pick a date and time for publishing your post. Finally, don’t forget to hit the Schedule button after choosing a date from the calendar.

If you choose a date in the future, WordPress will wait to publish the post until that time.
5. Change the WordPress URL structure
Using the post title in the URL gives the post a better shot at being found by search engines. Fortunately, there’s an easy way to change these URLs at Settings → Permalinks.

You can go with any standard option, or even create your own custom URL.
There’s one thing to be careful about, though. It’s not good for SEO to alter permalinks after publishing your posts. So make sure you do some research before changing permalinks on an active site. Our in-depth post on permalinks will help you get it right the first time around.
6. Add a favicon to your site
Favicons are the small site symbols that show up in browsers and mobile apps. Besides raising brand awareness, they help readers identify the site they want in their browser’s list of tabs.
With WordPress, adding a favicon is easy, but it’s done slightly differently depending on if you’re using a classic theme or a block theme.
Adding a favicon inside of a classic theme
Go to Appearance → Customize → Site Identity and select an image as your favicon.

Adding a favicon inside of a block theme
Go to Appearance → Editor and click on the theme’s design to the right to enter the Full Site Editor.

Here, click on the site logo block, then head to the right panel to upload your image.
After uploading the image, go to the Styles tab to customize the logo.
7. Log out everywhere
You surely know that you can access your WordPress site from any location and from any device. Sometimes, you may forget to log out from a device that others have access to, which can pose a security risk.

Not to worry, you can access your site from any other device and logout. To be able to do this, you’ll need to enable the feature under Users → Your Profile → Account Management → Sessions. This simple feature is one of many WordPress options to enhance website security and to protect your site from hackers.
8. Manage comments better
It’s no fun to receive comments on a post that’s long past its shelf date. Luckily, you can tweak some WordPress options to stop comments automatically. Head to Settings → Discussion and configure the settings to automatically close comments. Once you activate this feature, comments will automatically close once a post is older than X days:

To find out how to stop comments on published posts, or to bulk edit comments, check out our earlier post on disabling comments in WordPress.
Other WordPress options that allow you to streamline comments management include notification by email whenever you receive a comment, and changing settings for comment moderation.
9. Add a team to make your work easier
Owning and operating a blog doesn’t mean that you’ve got to do all the work yourself. By adding users to your WordPress site and assigning user roles to them, you can make your work easier. At the same time, you can maintain website security by restricting capabilities.

By default, WordPress allows you to add five different user roles, each with its own capabilities. To get started, head to Users → Add New.
10. Import content from other platforms like Blogger
If you’ve been creating posts on any platform other than WordPress (such as Blogger) and want to move them to a WordPress website, the Import option makes it easy. The import/export features help move comments, posts, pages and other content from one platform to another.

You can also export content to another WordPress website. After selecting the content you want to export, click Download Export File. Thereafter, you can import the XML file into the second WordPress website.

In conclusion 🧐
This list of WordPress options is by no means exhaustive. WordPress allows you to do many more things such as preview themes, convert categories to tags and add custom CSS to menus.
Beginners, in particular, will gain by taking time to explore these hidden WordPress options.
Finally, if we’ve missed your favorite WordPress feature, let us know about it in the comments section!

FREE GUIDE
4 Essential Steps to Speed Up Your WordPress Website
Follow the simple steps in our 4-part mini series and reduce your loading times by 50-80%. 🚀


